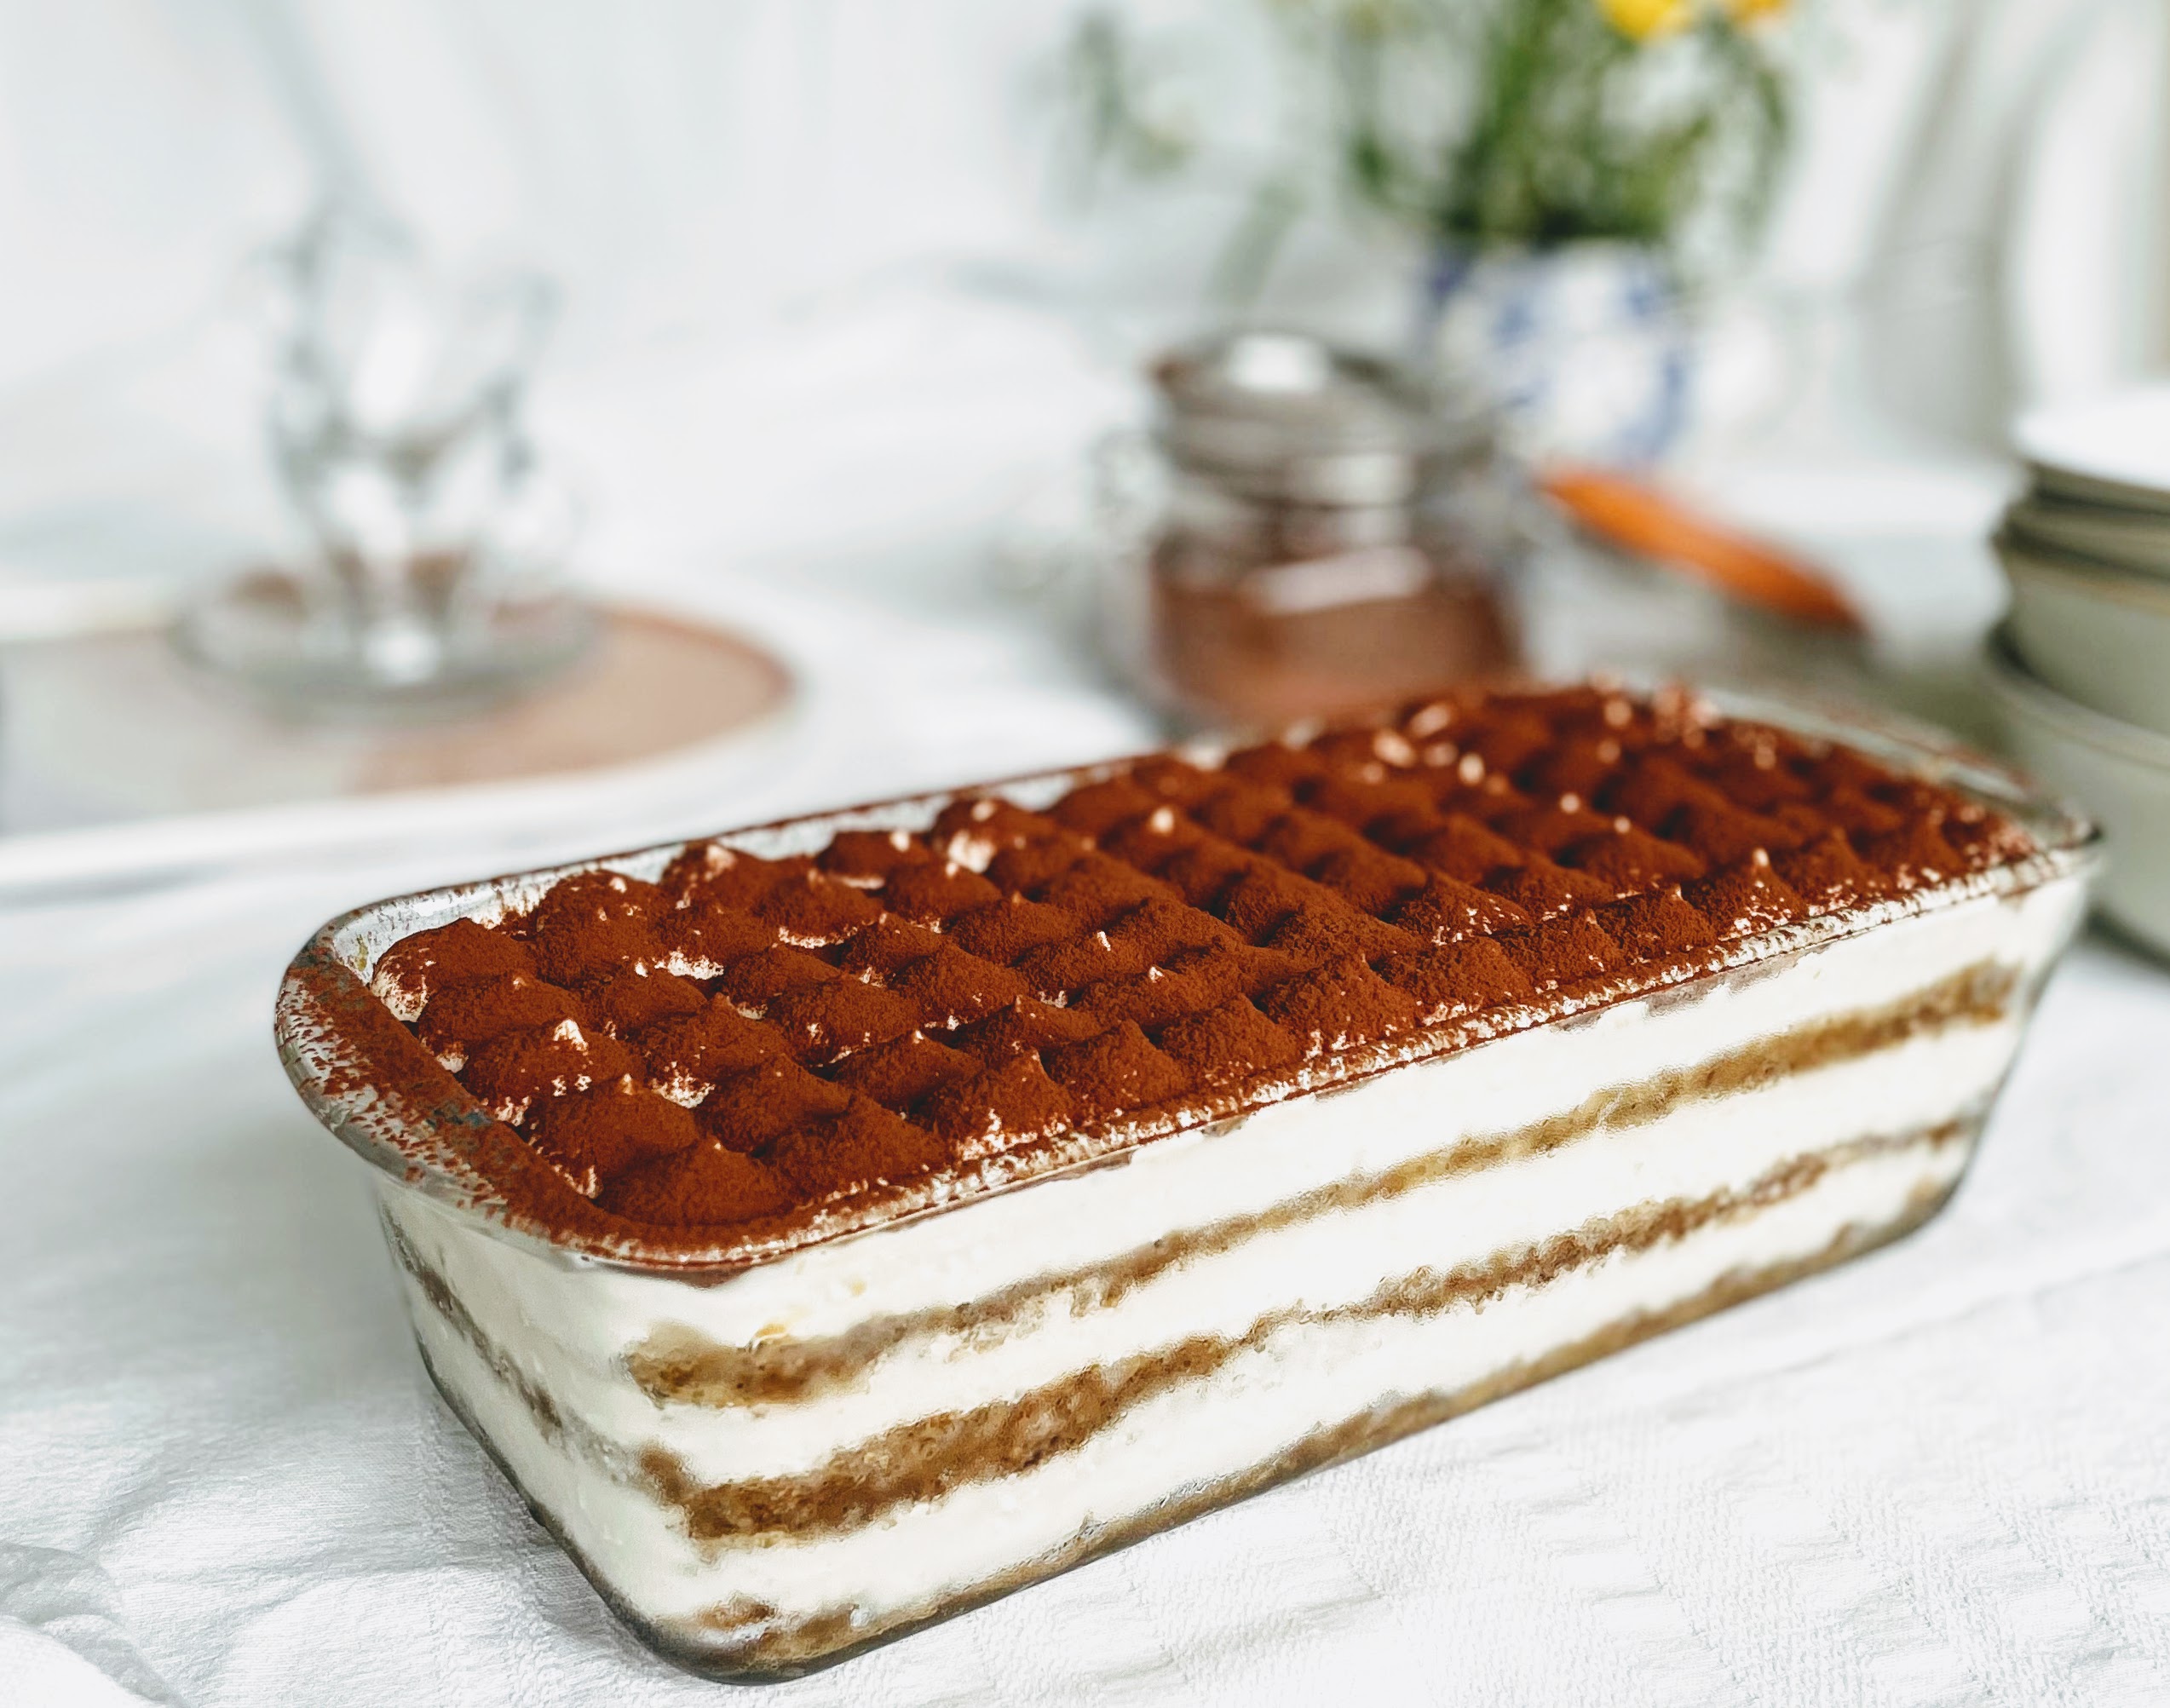
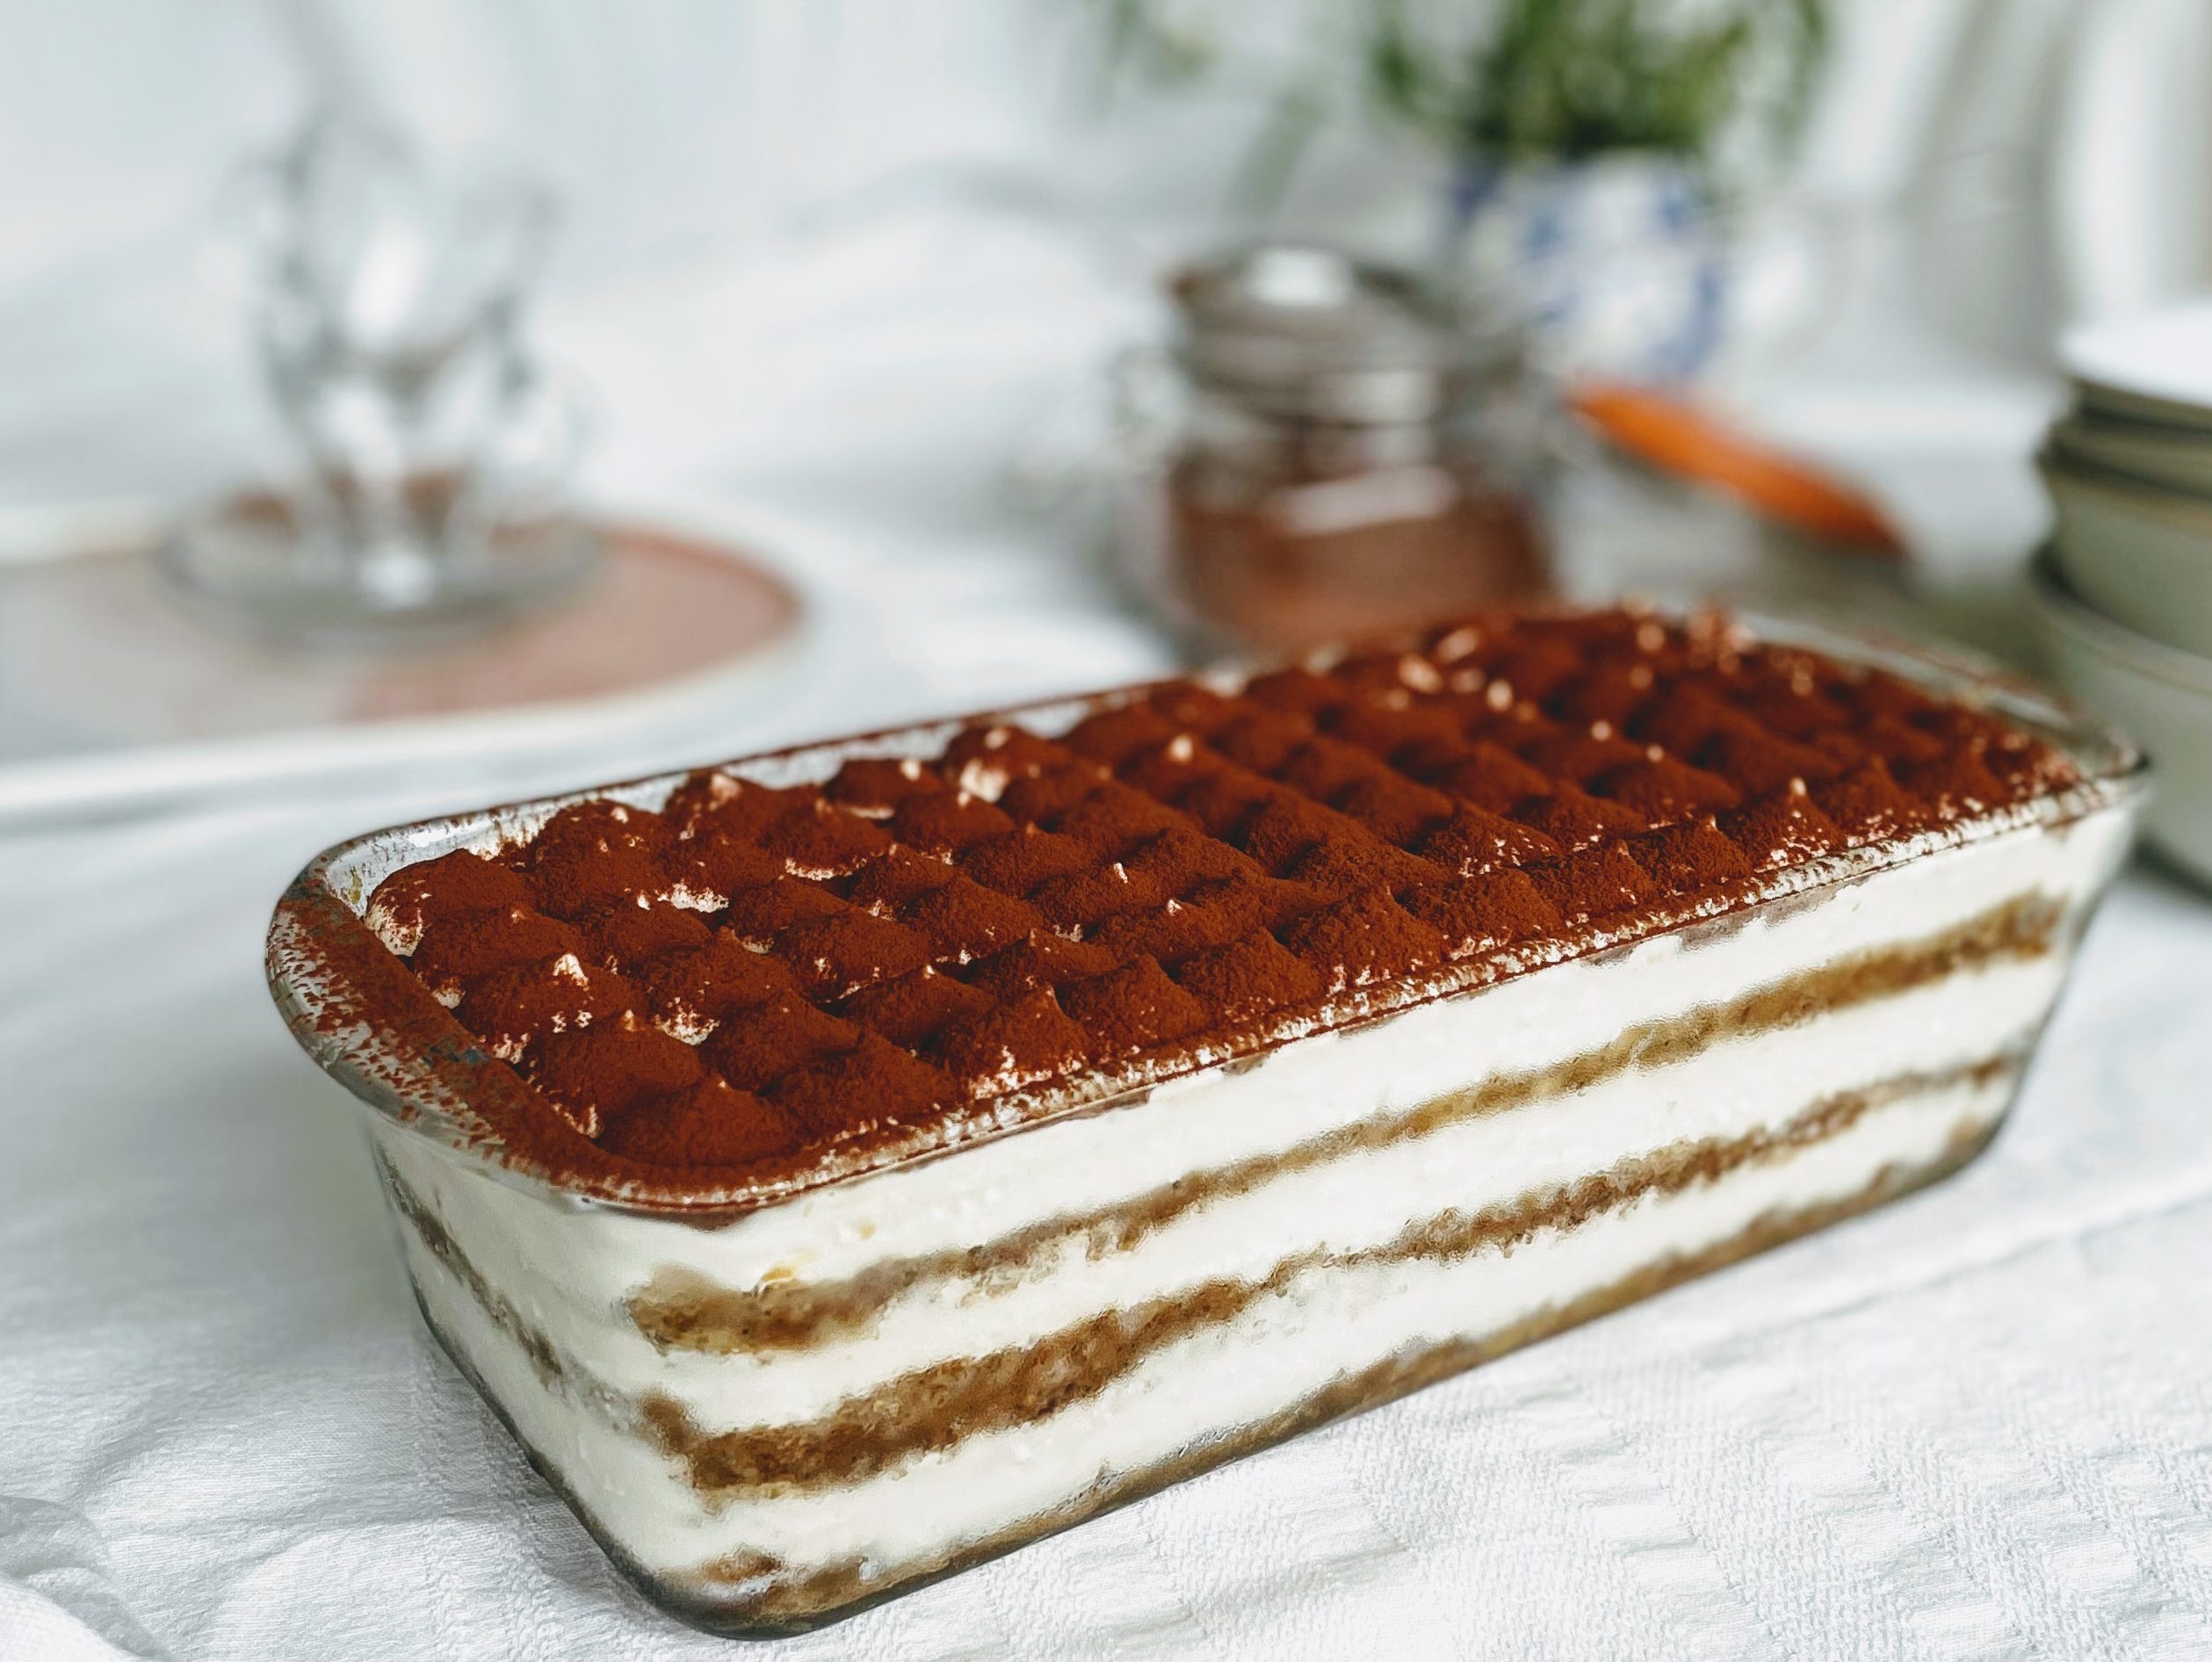
The classic Italian dessert, in all its creamy, boozy, mocha glory. Layers of sponge, saturated with coffee and brandy, are sandwiched with a silky smooth and light cream filling, and topped with a generous dusting of cocoa powder. Completely vegan, easily made gluten-free, and totally divine.
It is hard to imagine that a dessert that is largely composed of cream and eggs could be so easy to veganize, but this vegan tiramisu recipe has won over even my most dairy-loving and tiramisu-obsessed family members.
When I say tiramisu-obsessed, my Gran has made it for my Dad’s birthday for as long as I can remember, which is quite a number of tiramisus. Her version is heavy on the brandy, laden with mascarpone, utterly indulgent, and very much not vegan. When covid hit, and it looked as though Dad would have to forgo his birthday tiramisu, I set about trying to make a vegan version that we could all get our teeth into.
There is no definitive tiramisu recipe; some are without alcohol entirely, others use sweet marsala or amaretto, both of which would be delicious. I follow my Gran’s lead using brandy, which I think does the job perfectly, and we’re more likely to have some in the cupboard left over from Christmas.

Most recipes advise the use of dried sponge fingers, however given I am yet to find a vegan version of these, let alone one that is vegan and gluten-free, I make my own. The recipe is straight forward and in this context is wonderfully forgiving. If it’s a bit dry and over-cooked, all the better to soak up the coffee and alcohol, and you can make it a few days in advance to dry out a bit. My first gluten-free vegan sponge attempts were essentially pancakes, but fortunately almost anything can taste great with enough coffee, alcohol, and cream.
How to make vegan tiramisu

To start, pre-heat the oven and line a shallow oven dish or baking sheet with baking paper. You can cook the sponge in a couple of cake tins, or even in just one cake tin or dish, but I find it much easier to bake a large, thin cake so I don’t have to slice it into layers. I used a baking tray measuring approximately 30×40 cm, so anything around that size should be about right.
In measuring jug mix some non-dairy milk with a tablespoon of cider vinegar, and set aside. The milk will thicken and curdle creating a buttermilk substitute. Then in a large mixing bowl, combine the dry ingredients; flour, ground almonds, baking powder, bicarb, salt, and sugar. You can use either plain or gluten-free flour – the results are good either way, but a pinch of xantham gum will help a gluten-free sponge to hold together better. You can also omit the almonds for a nut-free version and double the amount of plain or gluten-free flour.
With your dry ingredients mixed, add some oil and vanilla essence to the milk mixture and whisk together. Once the wet and dry ingredients are combined, the bicarb will start to activate, so you want to work quickly from this point, and make sure your oven is at temperature. Pour the milk mixture into the large mixing bowl with the flour mixture and whisk vigorously until there are no clumps of raw flour remaining. Scrape the batter onto the baking sheet and spread to the corners with a spatula. Bang your tray on the work surface to release any air bubbles, then bake for 20–25 minutes until the top is golden brown and a spatula comes out clean. If you are using a smaller baking tray or dish, you may need an additional 5 minutes as your cake will be thicker.


While the sponge is baking, you can make the coffee soak and the filling. Brew some strong coffee and measure out 150ml, and stir in a tablespoon of sugar. I’ve suggested between 4 and 6 tablespoons of brandy, but it’s entirely up to you. You can omit it entirely and just add a bit more coffee, or use a couple of tablespoons if you don’t like boozy puds but still want a hint. I found that 4 tbsp will give you a nice touch of brandy and 6 will give you a decent boozy hit. Leave to cool completely.
For the filling, simply plonk your vegan cream cheese and whipping cream in a mixing bowl and whisk with an electric hand whisk for 4–5 minutes until you have a smooth and voluminous mixture. Then sift in 3 tbsp icing sugar and add 2 tbsp of the cooled coffee mixture. Whisk again for another few minutes until the mixture is almost at soft peaks, then refrigerate.
Once the sponge is baked, leave in the tin for a few minutes then transfer to a wire rack to cool completely, and when everything has cooled, it’s time to assemble. You’ll need a loaf tin or oven dish with reasonably high sides, somewhere around 1.5 litres in capacity (about 3 pints). I like three layers of sponge and cream, but if you could also use a larger, shallow dish and stick to two layers.


The width of my cake was roughly the same as the length of my tin, so I was able to just cut three big rectangles of cake for the three layers. If your cookware doesn’t match up quite so fortuitously, you can just cut the cake into strips. Line your dish with a thin layer of sponge, then use a pastry brush to brush 3–4 tbsp of the coffee soak over the top. You want the sponge to be reasonably saturated, but not sodden. Take the cream filling out of the fridge and scrape into a piping bag with a wide circular nozzle, and pipe a thin layer of cream over the sponge, using a spoon or palette knife to spread it evenly (or you can forego the piping bag and just spread a few dollops of cream in an even layer). Follow with a layer of sponge, brush with more coffee soak, then pipe more cream, and repeat one more time until you have three layers (you may have a bit of soak left over which is fine).
For the final layer, you can pipe little blobs (there must be a better term for these but I do not have the energy to find out) on top for decoration, then dust liberally with cocoa powder. You can eat it immediately, or make it in advance and refrigerate until it’s time to serve. It will keep pretty well in the fridge for 2–3 days, but I’ve never known it to last that long.

Please let me know if you give this a try! I would love to hear what you think. You can comment below or use the star rating at the top of this post, or find me on Intagram and Twitter @greedybearbakes.
Vegan Tiramisu (GF option)
The classic Italian dessert - vegan style!
For the sponge:
- 200ml (¾ cup + 2 tbsp) non-dairy milk (soya-free if necessary)
- 1 tbsp apple cider vinegar
- 125g (1 cup) flour (plain or gluten-free)
- 125g (1⅓ cup) ground almonds*
- 1½ tsp baking powder
- ½ tsp bicarbonate of soda
- ½ tsp salt
- 135g (⅔ cup) caster sugar
- ¼ tsp xantham gum (only if using gluten-free flour)
- 70ml (¼ cup) neutral oil (e.g sunflower, vegetable or light olive)
- 1½ tsp vanilla essence
For the coffee soak:
- 150ml (⅔ cup) strong coffee (regular, decaf, or coffee substitute)
- 1 tbsp sugar
- 4–6 tbsp brandy** (optional)
For the cream:
- 150g (⅔ cup) vegan cream cheese (I like Nush Plain Almond)
- 280ml (1¼ cups) vegan whipping cream or coconut cream*** (I use Elmlea Plant Double)
- 3 tbsp icing sugar
- 2 tbsp coffee soak
- 2 tbsp cocoa powder
Directions
- Pre-heat the oven to 160C and line a shallow oven dish or baking sheet with baking paper.
- Measure out 200ml non-dairy milk into a measuring jug and mix with 1 tbsp cider vinegar. Set aside.
- In a large mixing bowl, combine 125g flour, 125g ground almonds, 1½ tsp baking powder, ½ tsp bicarb, ½ tsp salt, 135g sugar (and ¼ tsp xantham gum if you’re using gluten-free flour), and whisk.
- To the milk, add 70ml oil and 1½ tsp vanilla, and whisk together, then pour into the large mixing bowl with the flour mixture. Whisk vigorously until there are no clumps of raw flour remaining, then pour onto the baking sheet and spread to the corners with a spatula. Bang your tray on the work surface to release any air bubbles and bake for 20–25 minutes (if you have a smaller dish it may need another 5 minutes), until the top is golden brown and a spatula comes out clean.
- While the sponge is baking, brew some strong coffee, measure out 150ml, add 1 tbsp sugar, and 4–6 tbsp brandy. 4 tbsp will give you a hint of alcohol, 6 will give you more of a boozy hit. Leave to cool.
- In a mixing bowl, add 150g vegan cream cheese and 280ml vegan whipping cream. Whisk with an electric hand whisk for 4–5 minutes until you have a smooth and voluminous mixture, then sift in 3 tbsp icing sugar and add 2 tbsp of the cooled coffee mixture. Whisk again for another few minutes until the mixture is almost at soft peaks, then refrigerate.
- Once the sponge is baked, leave in the tin for 5 minutes then transfer to a wire rack to cool completely.
- When everything has cooled, it’s time to assemble. You’ll need a loaf tin or oven dish with reasonably high sides, that’s approx 1.5 ltr capacity (or 3 pints). You can either cut the sponge into strips, or cut a whole piece to the size of your dish.
- Line your dish with a thin layer of sponge, then use a pastry brush to brush 3–4 tbsp of the coffee soak onto the first layer of sponge. Scrape the cream filling into a piping bag with a wide circular nozzle and pipe a thin layer of cream over the sponge, using a spoon or palette knife to spread it evenly (you can forego the piping bag and just spread a few dollops of cream in an even layer).
- Repeat step 9 two more times, so you have three layers of sponge and cream (you may have a bit of soak left over which is fine). For the final layer, you can pipe little blobs on top, then dust liberally with 2 tbsp of cocoa powder. You can eat immediately, or it will keep in the fridge for 2–3 days.
Notes
*For a nut-free option, omit the ground almonds and double the amount of plain or gluten-free flour.
**You can leave out the brandy entirely, replacing with a little more coffee, or you could replace the brandy with amaretto or sweet marsala wine if you like.
***If you are using coconut cream, pop a can or two of coconut milk (with a high fat percentage and that doesn’t contain guar gum – I use Sainsbury’s own brand) in the fridge an hour or so in advance, then scoop out the thick cream which should have risen to the surface. This doesn’t whip up quite so much as vegan whipping cream, so you may want more than one can to ensure you have enough filling. It’s a little more rich but equally as delicious.

This looks scrumptious!! Bookmarking to try!
LikeLiked by 1 person
Thank you – let me know how it goes! I hope you love it 😃🙏💚
LikeLiked by 1 person