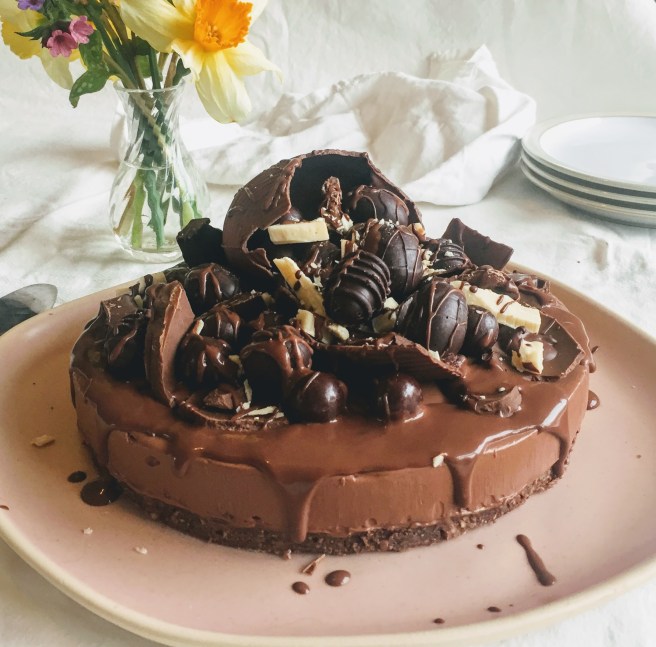
Perfect for an Easter Sunday chocolate blow-out, an exceptional way to use up abundant Easter eggs, or a dessert for any occasion that requires excessive chocolate consumption; this no-bake cheesecake is creamy, luscious, silky smooth and deeply chocolatey. Made with an oaty hazelnut chocolate base, a silken tofu, vegan cream cheese and chocolate filling, and as much chocolate as you dare pile on top.
It’s coming up to a year since I started this blog, and I think this is my fourth vegan cheesecake recipe. Which gives you some indication of my enthusiasm for this particular dessert. Something about the combination of sweetness and sour tanginess, the variety of textures, the options for sauces and accoutrements is all deeply satisfying. Added to the fact that you don’t have to faff about with icing (I am not a great icer), but can still go to town with the decoration. Not to mention that vegan cheesecakes can be as good, if not better, than dairy-counterparts.
If cheesecake needed another selling point, then how about the fact that is really easy to cater for many different dietary requirements? In this recipe I use nuts and oats for the base to make it gluten-free, but you can easily make it grain-free by replacing the oats with more nuts. If you have a nut allergy, or just really like biscuits, then a classic biscuit base is always an option, and I’ll provide instructions on how to tweak the ingredients.
As Easter Sunday is nearly upon us, it seemed thoroughly appropriate to pile a chocolate cheesecake with more chocolate, but for other times of year you can take a more subtle approach, or just use chocolate that isn’t egg-shaped. I would say this is very much a year-round all-occasion type dessert, even if the occasion is that you really want some cheesecake. It’s especially good for that.
The base
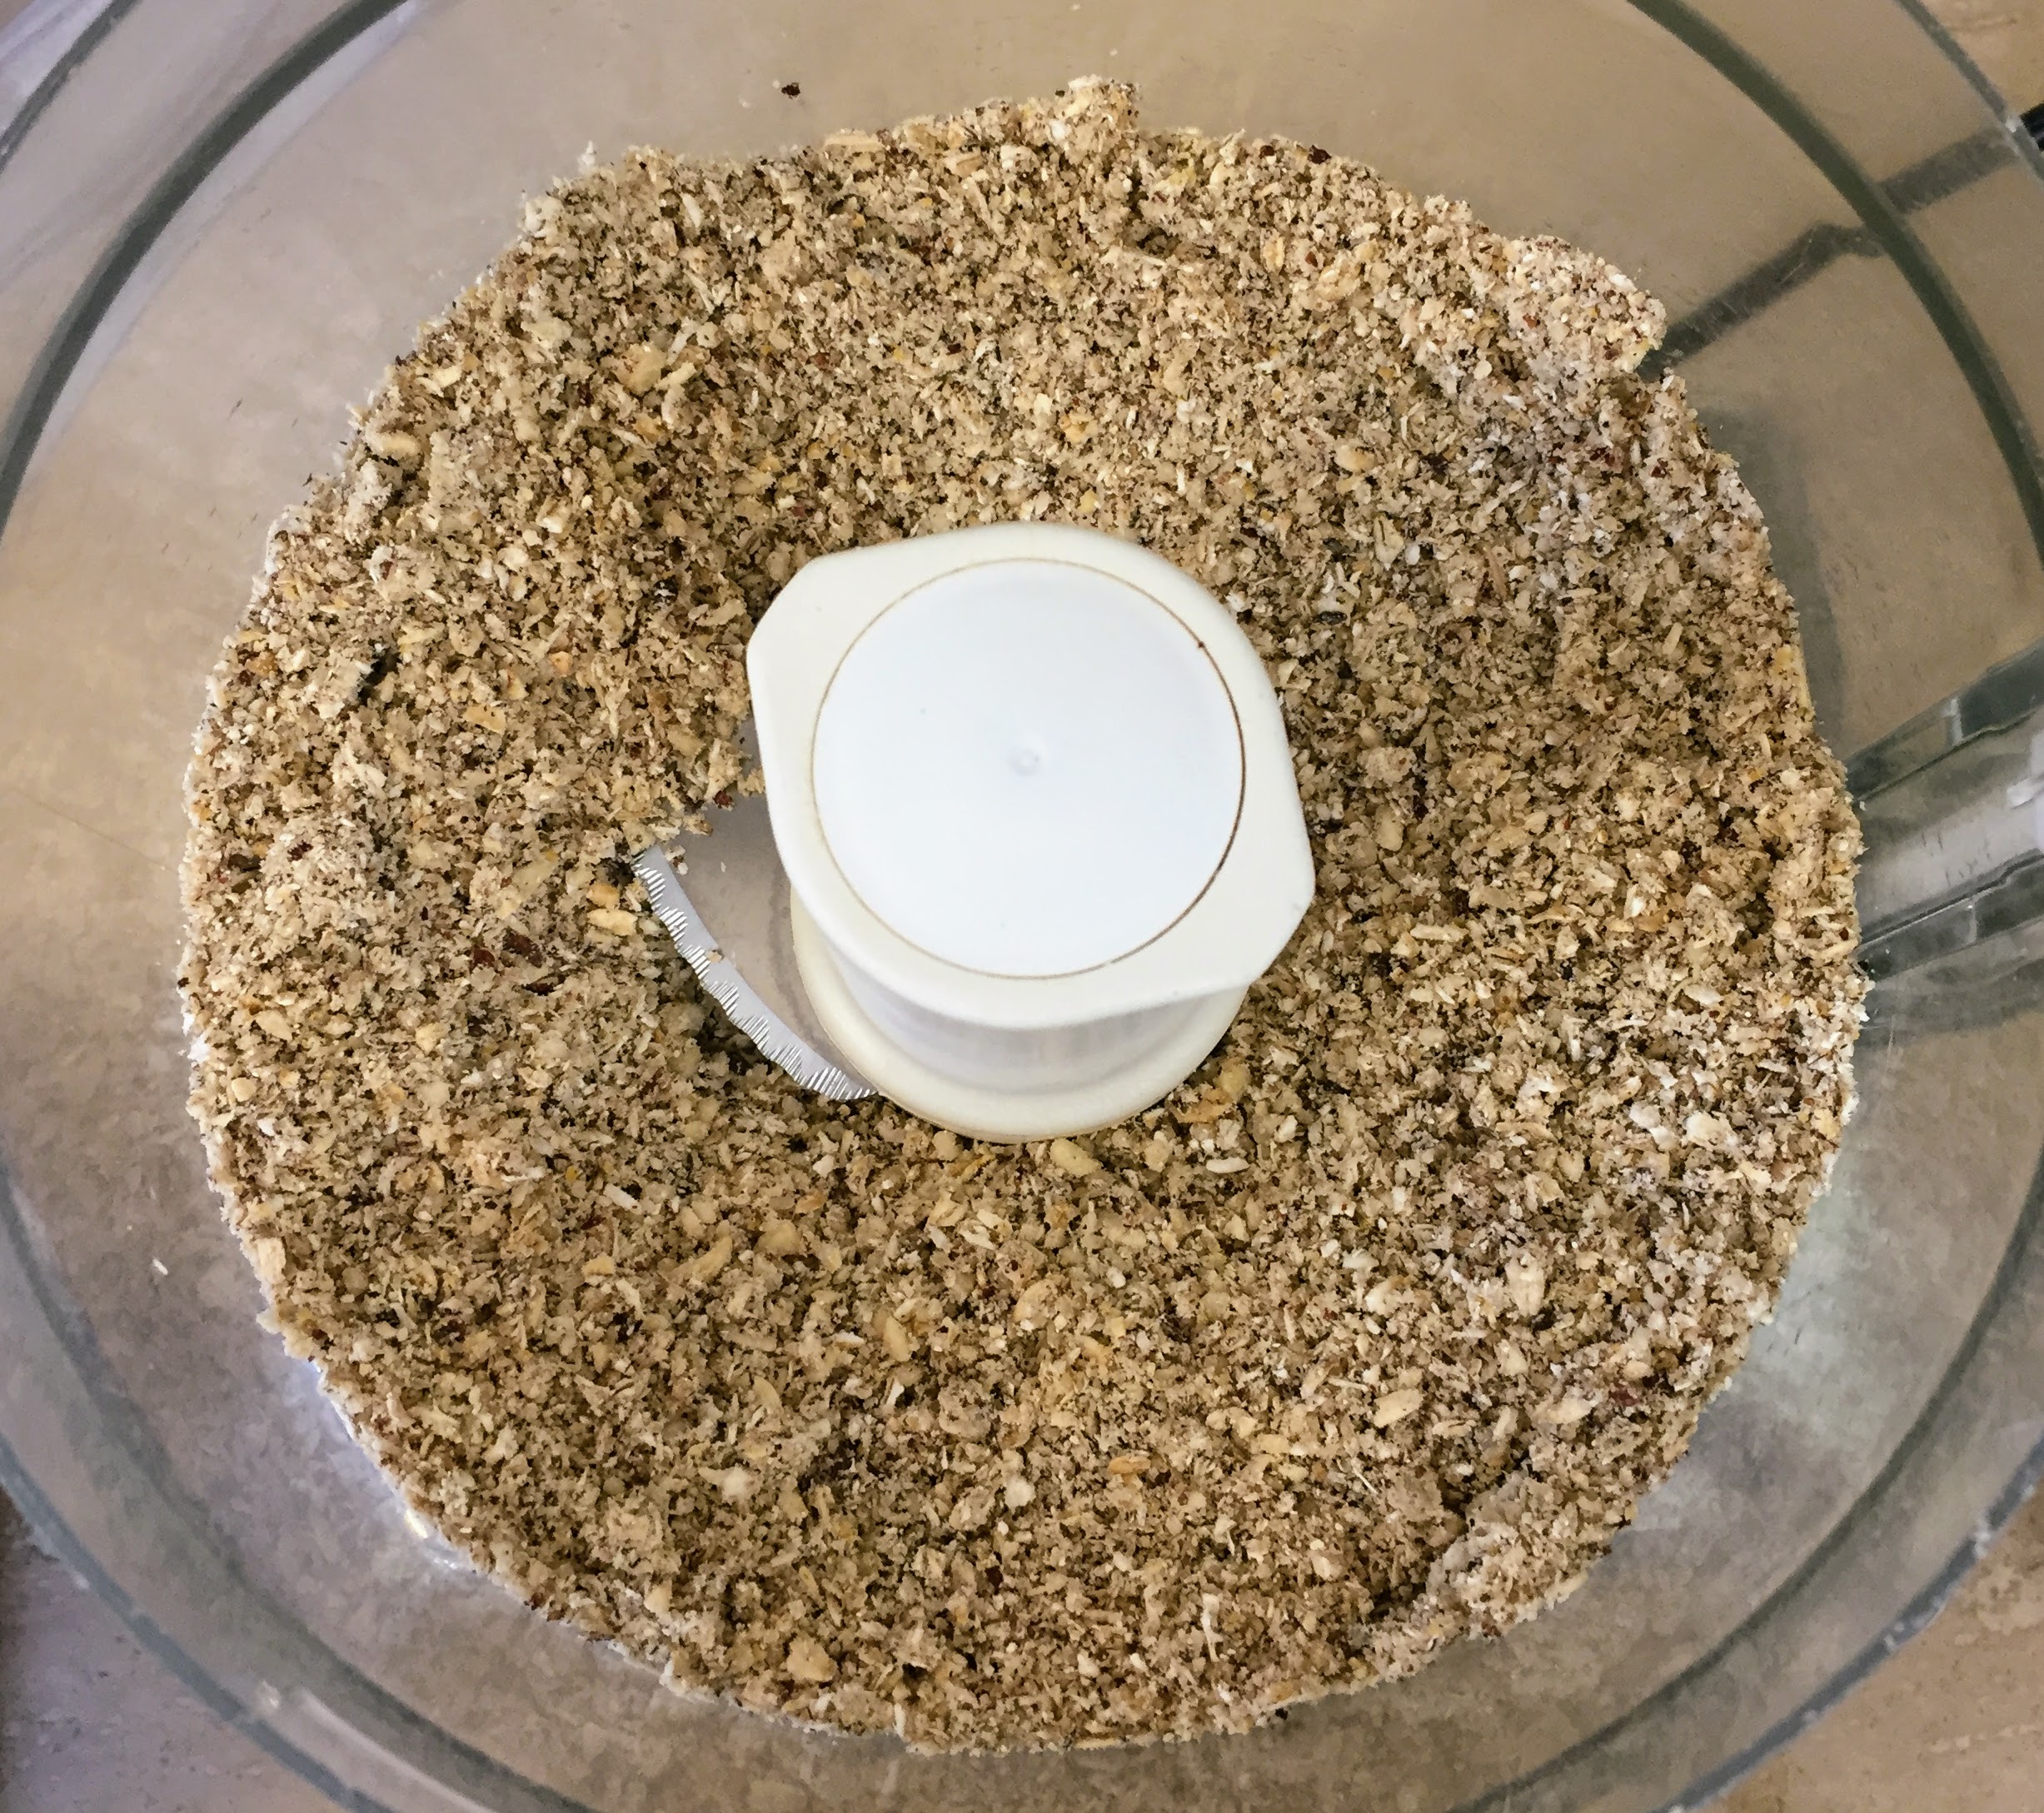
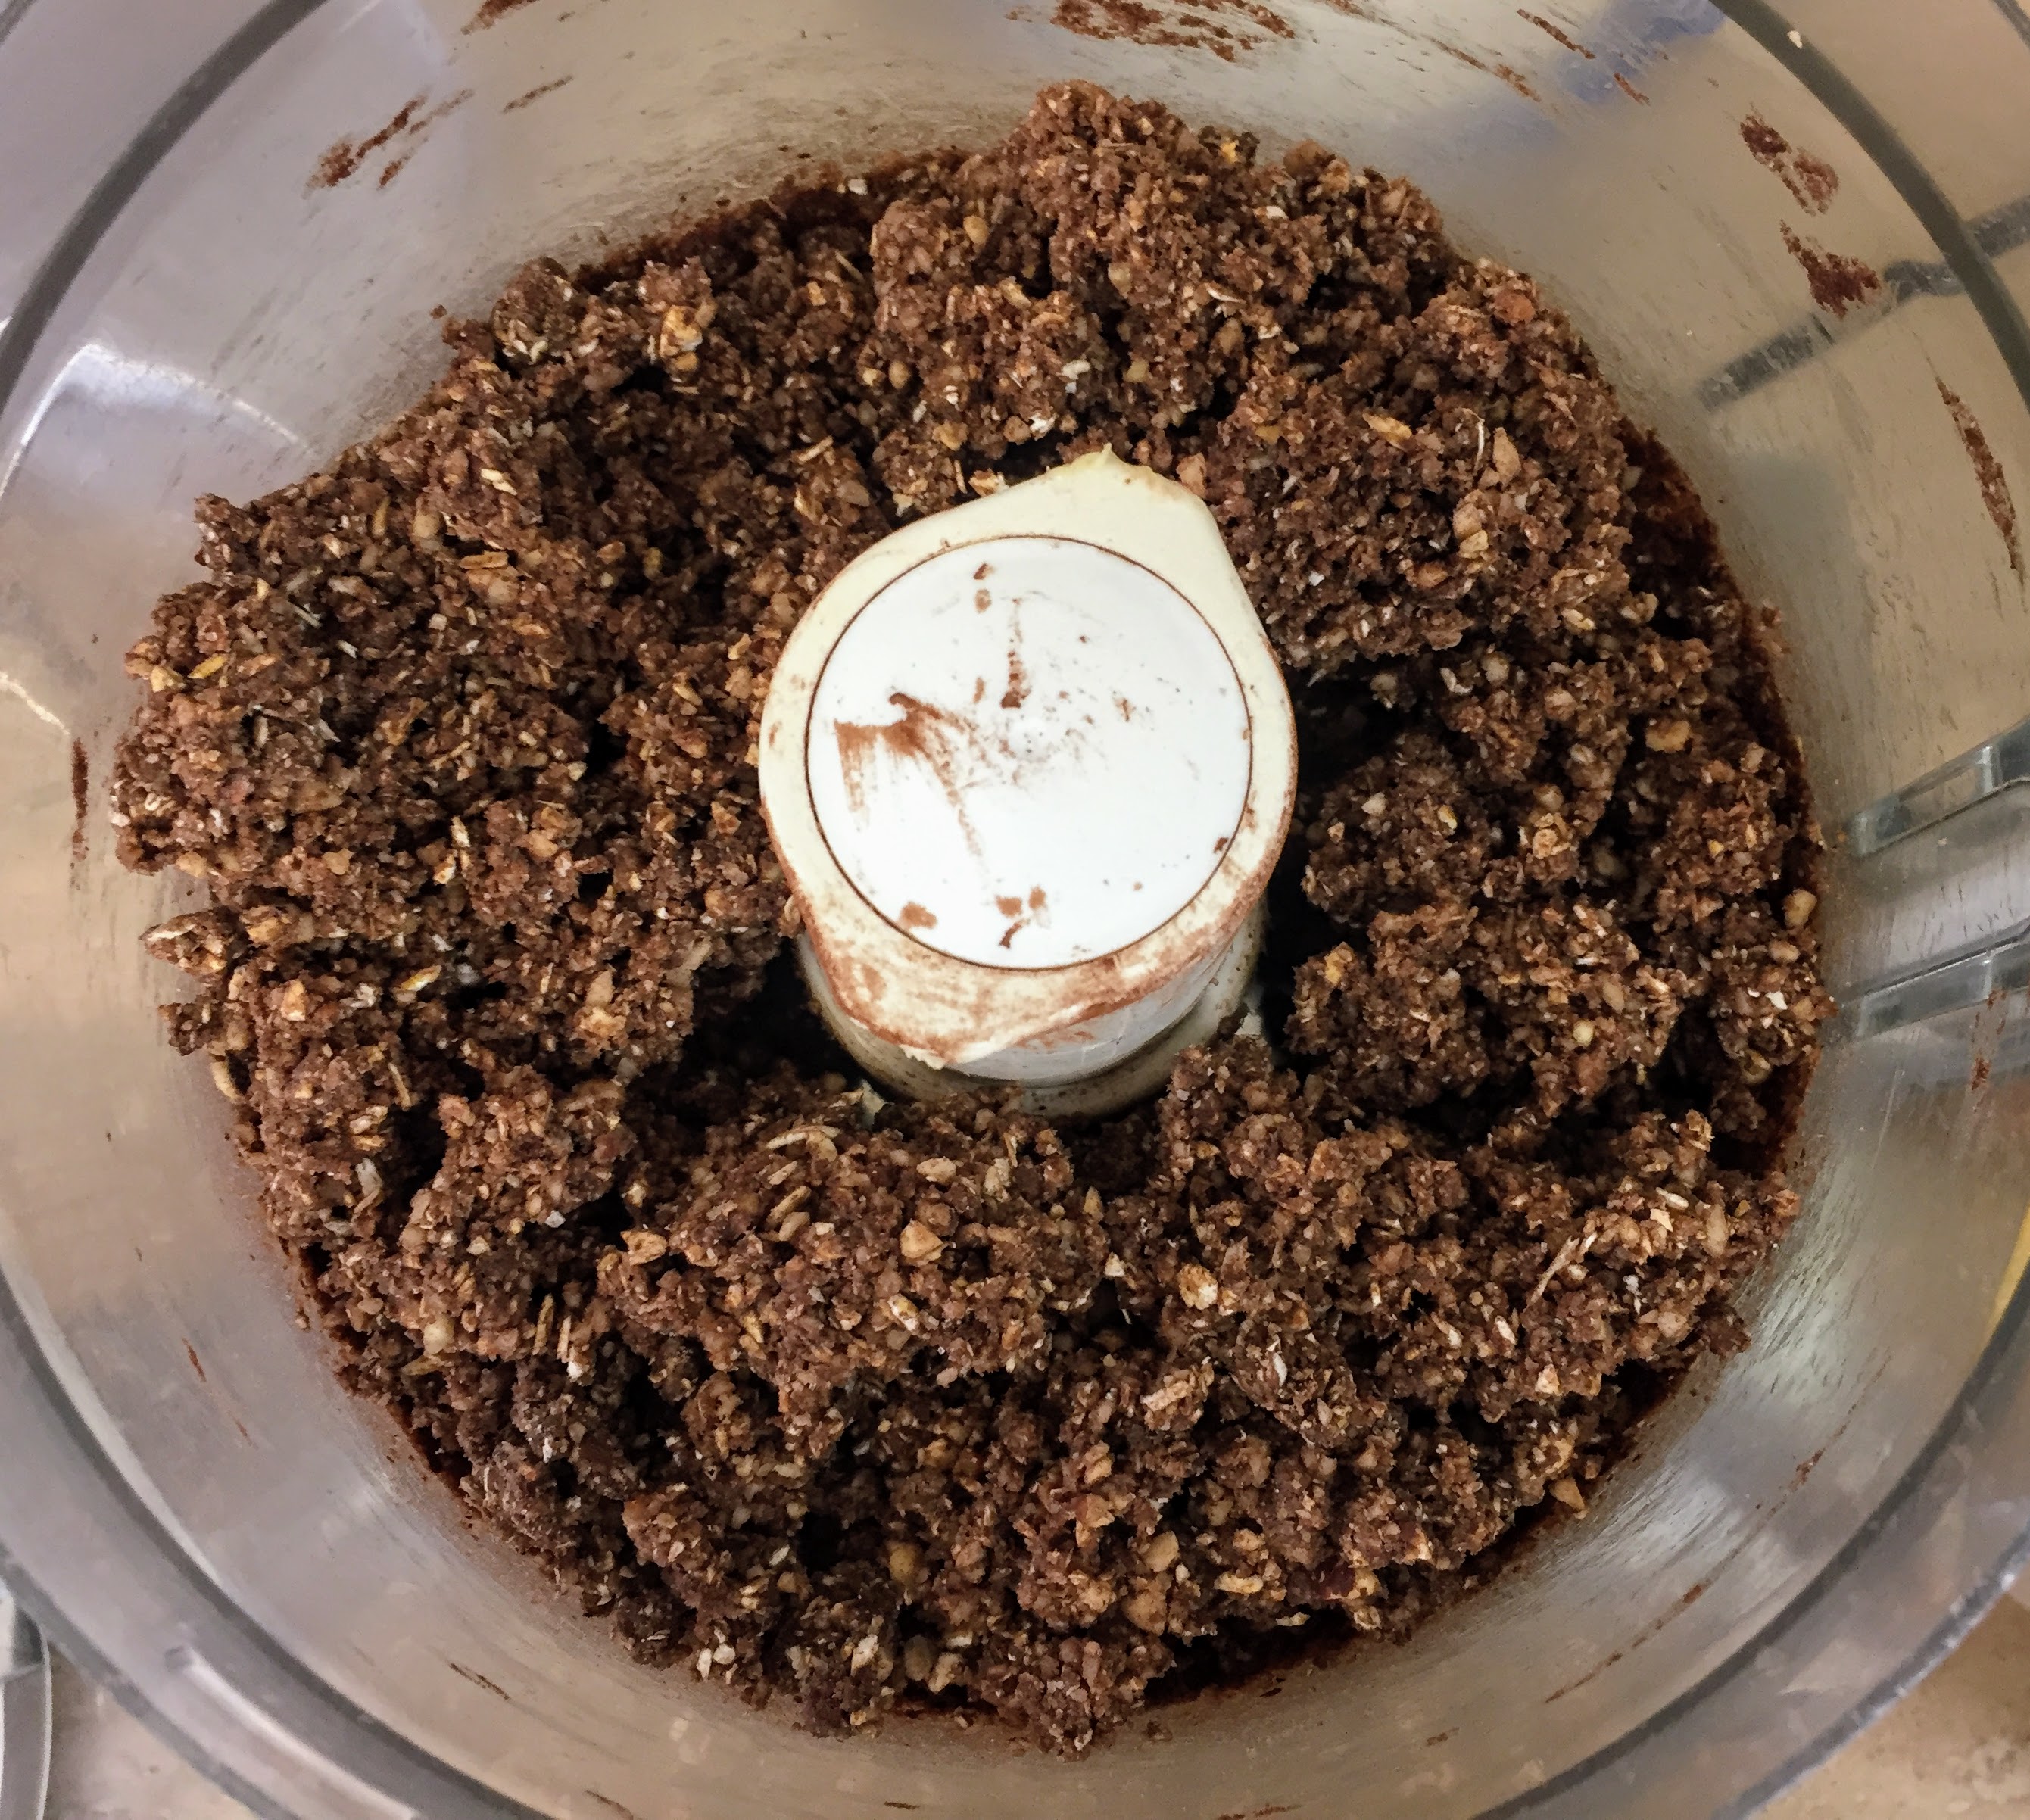
First up, the base. Hazelnut and chocolate is a classic combination, and I like to mix these with an equal amount of oats. This is partly because hazelnuts are hella expensive, and partly because oats are tasty. You can use 100% hazelnuts if you wish, or a mixture of hazelnuts and almonds. These get blitzed in a food processor to a crumb, then pulsed a few times with the addition of some sugar, cocoa powder, and a pinch of salt until the cocoa is evenly distributed. Some vegan butter or coconut oil gets thrown in and everything is whizzed until it starts to clump together – you want the mixture to hold together well if you press it between your fingers.

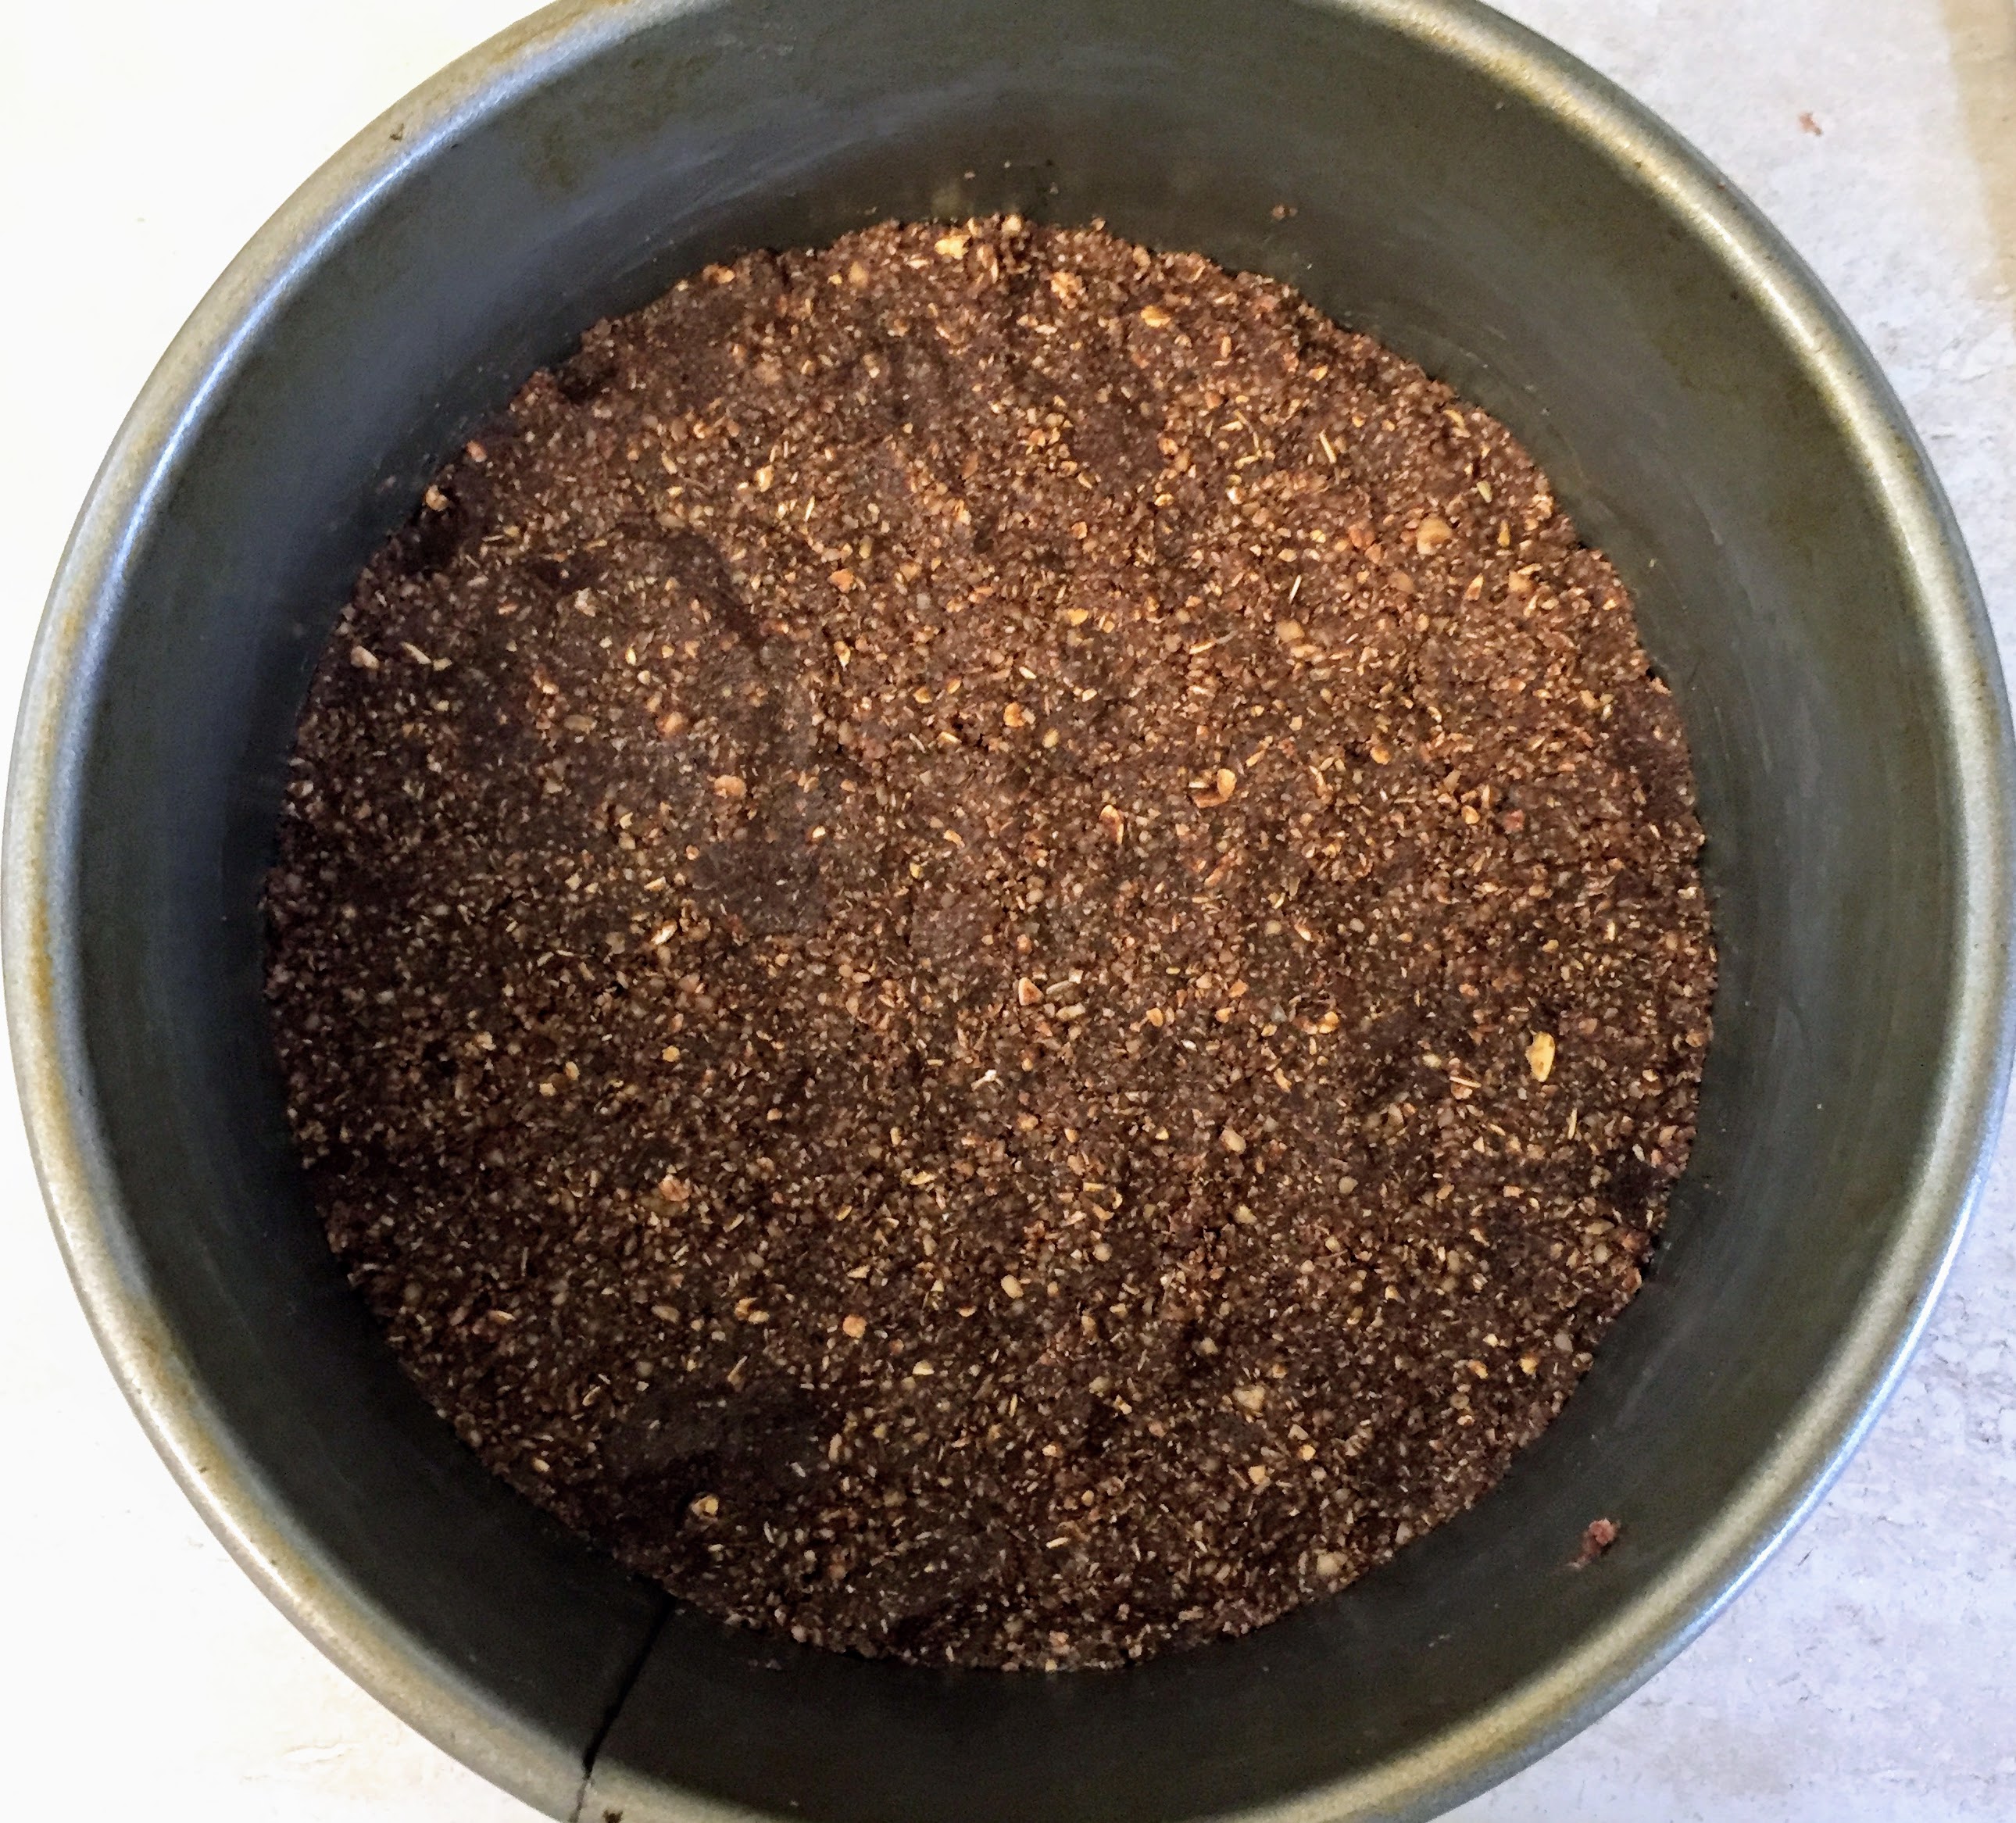
Grease a loose-bottomed cake tin and line the bottom with baking paper, then tip in the mixture from the food processor. Loosely even it out, then press it firmly into the base until it forms an even, compact layer. This needs to go in the fridge to firm up while you make the filling.
The filling
The first ever recipe I posted was for a chocolate tart (still a firm favourite) and I’ve adapted the filling for this to enhance the cheesecake vibes. When I say adapted, I’ve basically just replaced some of the silken tofu with cream cheese. Silken tofu, as the name would suggest, has a glorious silky, creamy texture, and is very low fat. It doesn’t taste of much, making it a perfect canvas for bold, chocolatey flavours. However, here I wanted to up the fake-dairy vibes, and there are some excellent vegan cream cheeses around nowadays. My favourite is Nush almond spread – it’s almost identical to dairy cream cheese in flavour, and is made naturally, avoiding the slight chemically aftertaste which some vegan cream cheeses can have. Oatly spread plain is another good option, and has the benefit of being nut-free.
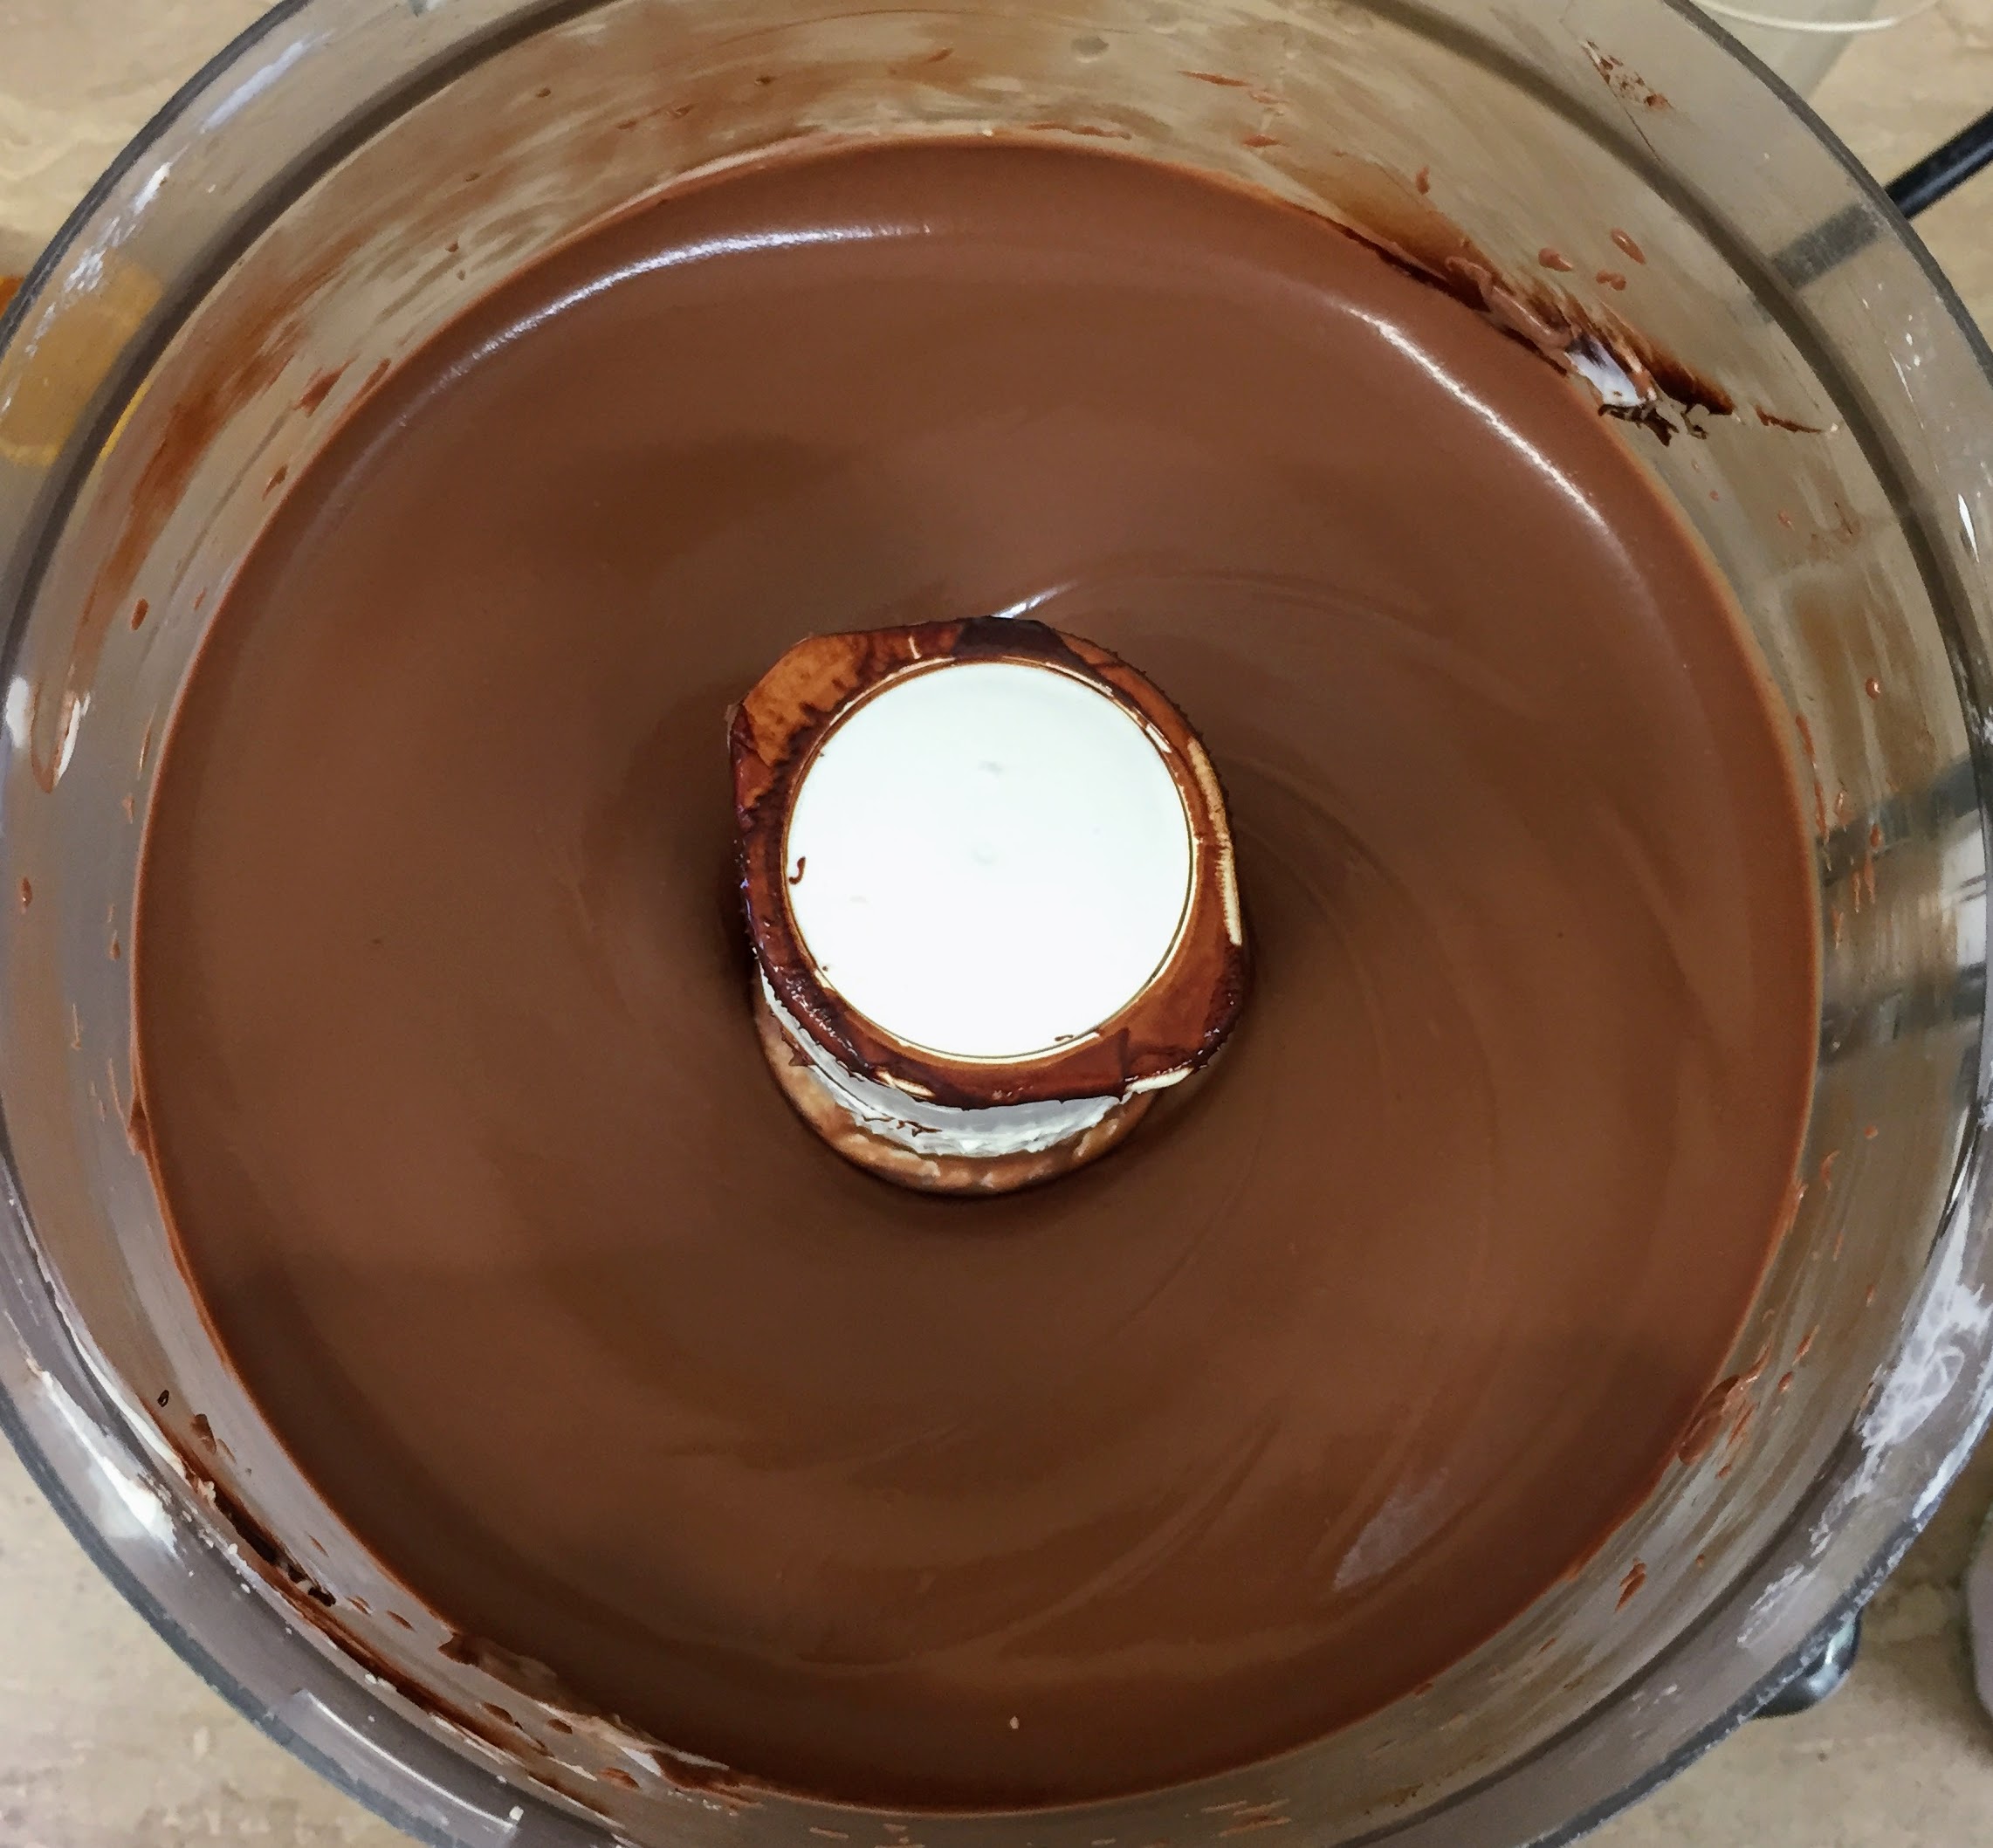
As for the chocolate, a decent dark chocolate with at least 70% cocoa solids is the way forward. Less, and the chocolate flavour won’t come through nearly as well and your cheesecake could end up being too sweet. Melt the chocolate in a heat-proof bowl over a pan of gently simmering water (ensuring the base of the bowl doesn’t touch the water). Stir it regularly and remove from the pan to cool once it’s lump-free.
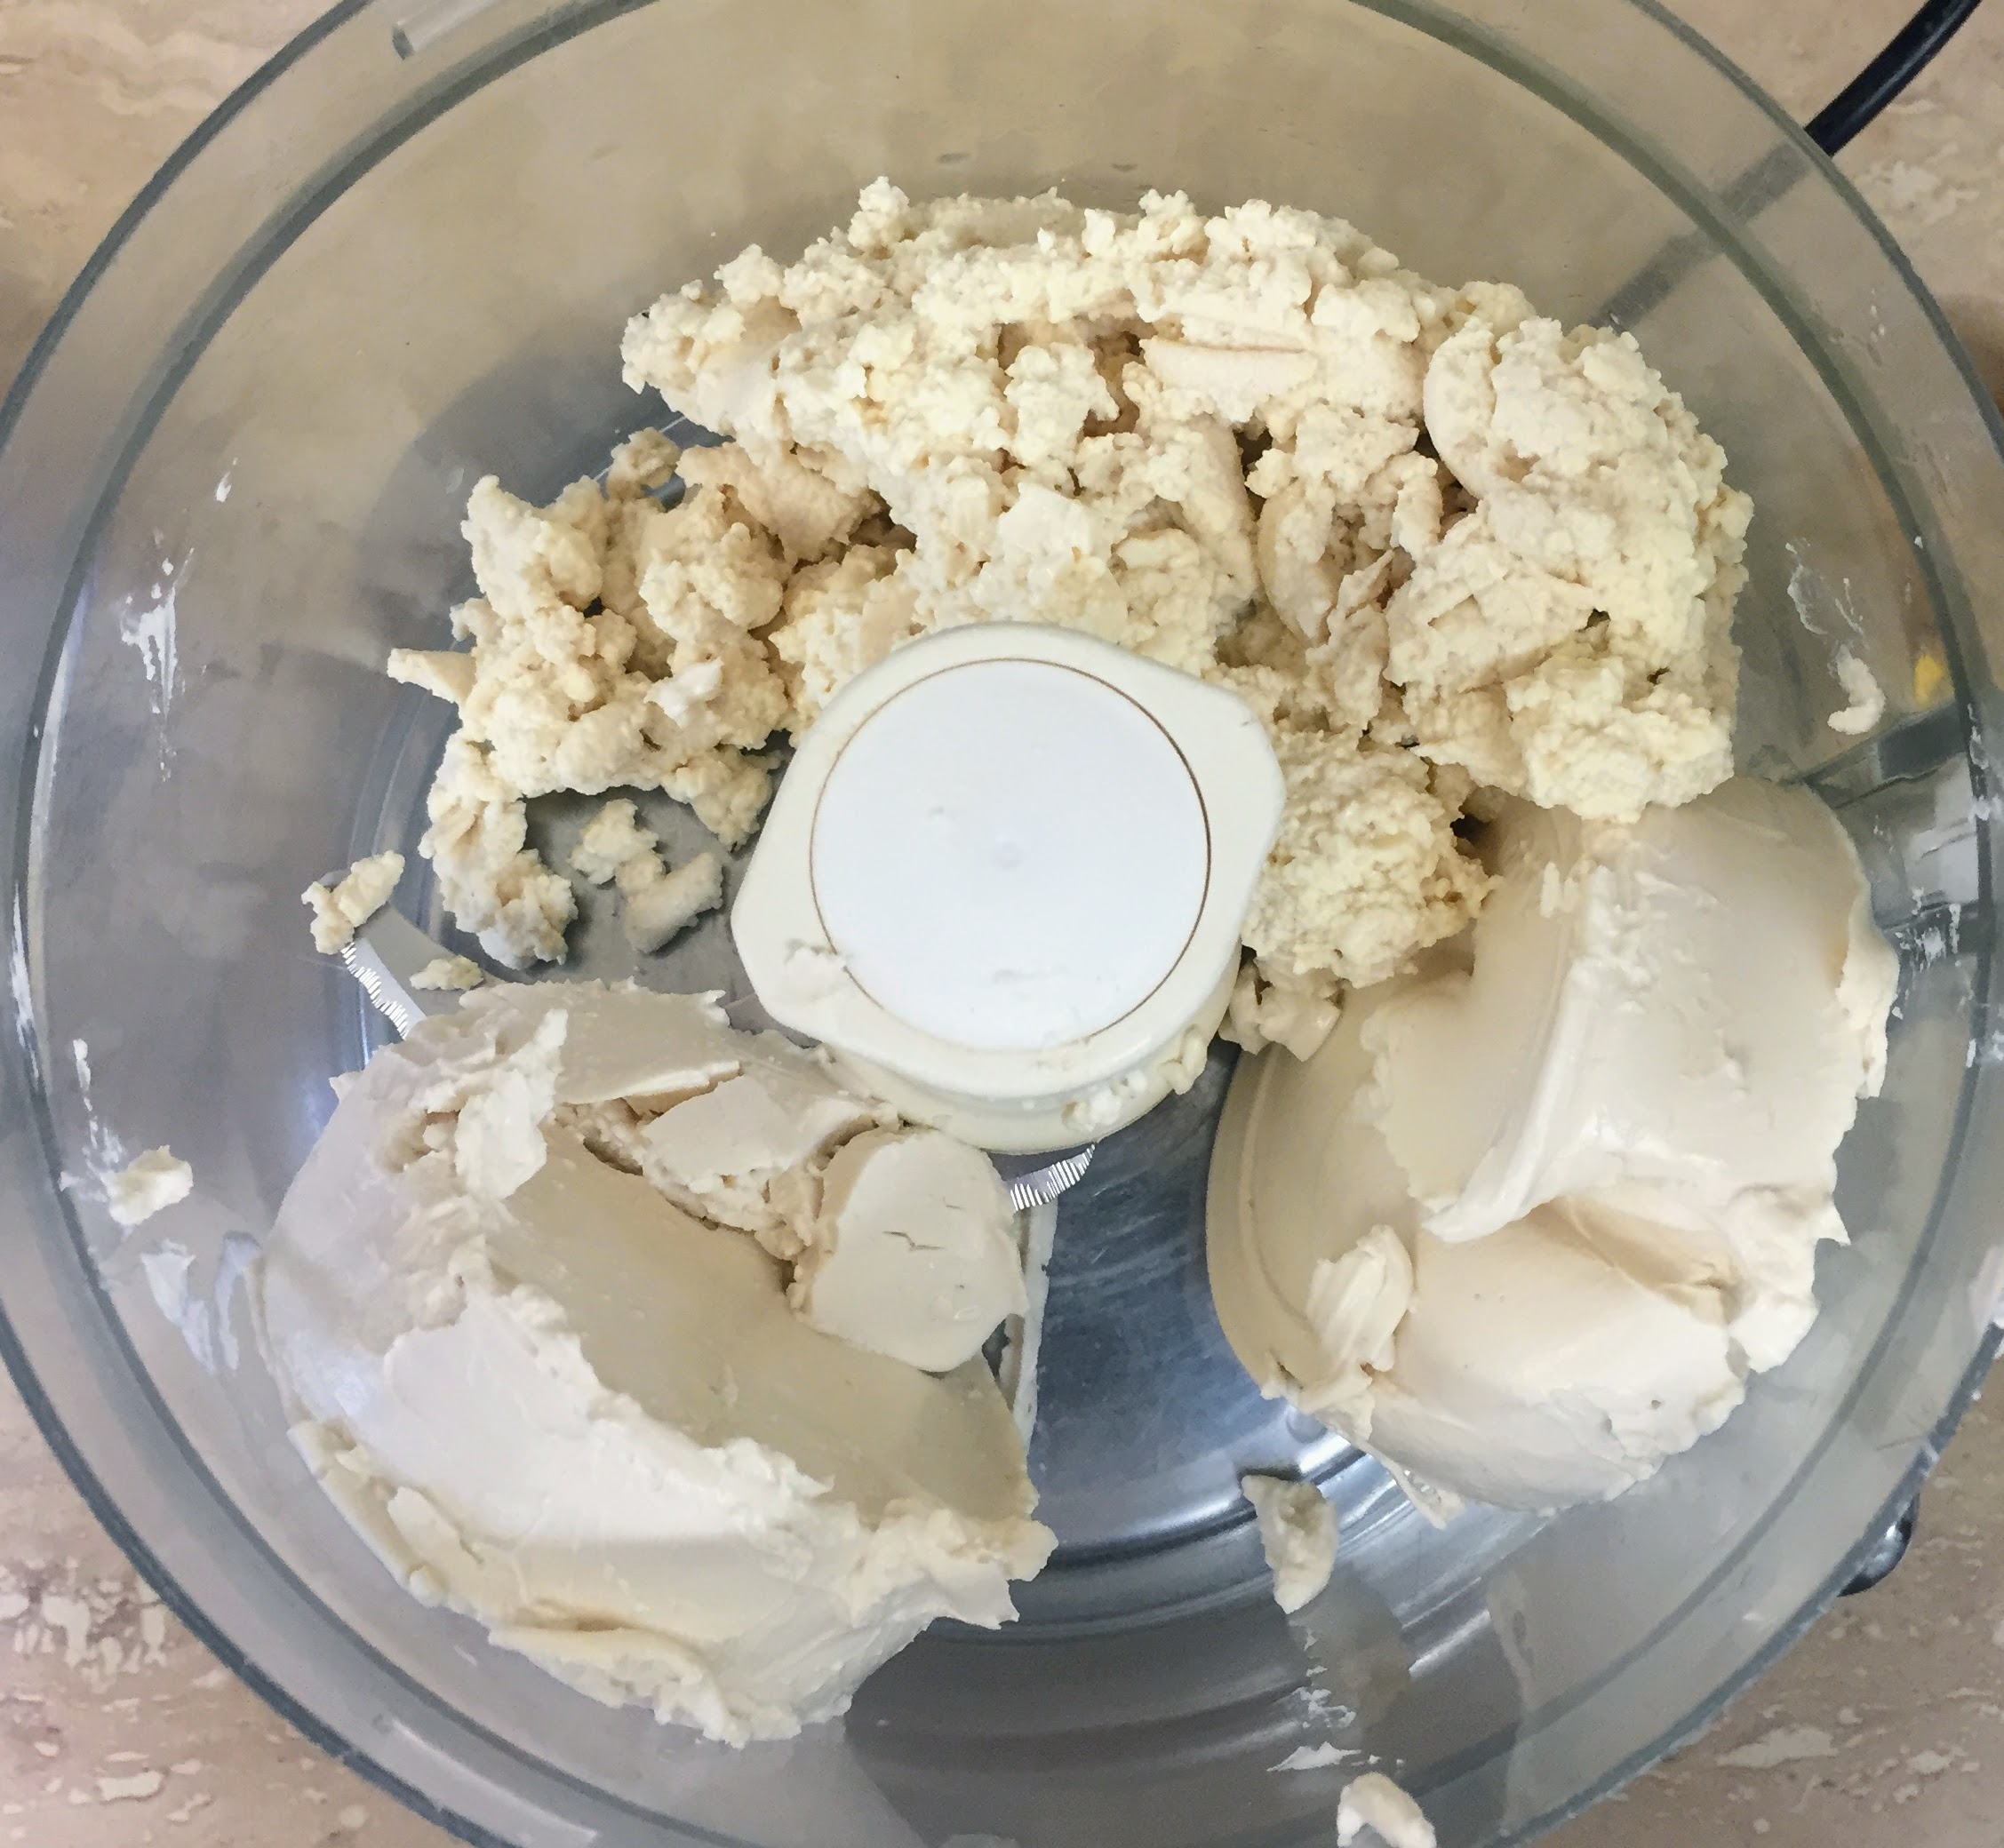
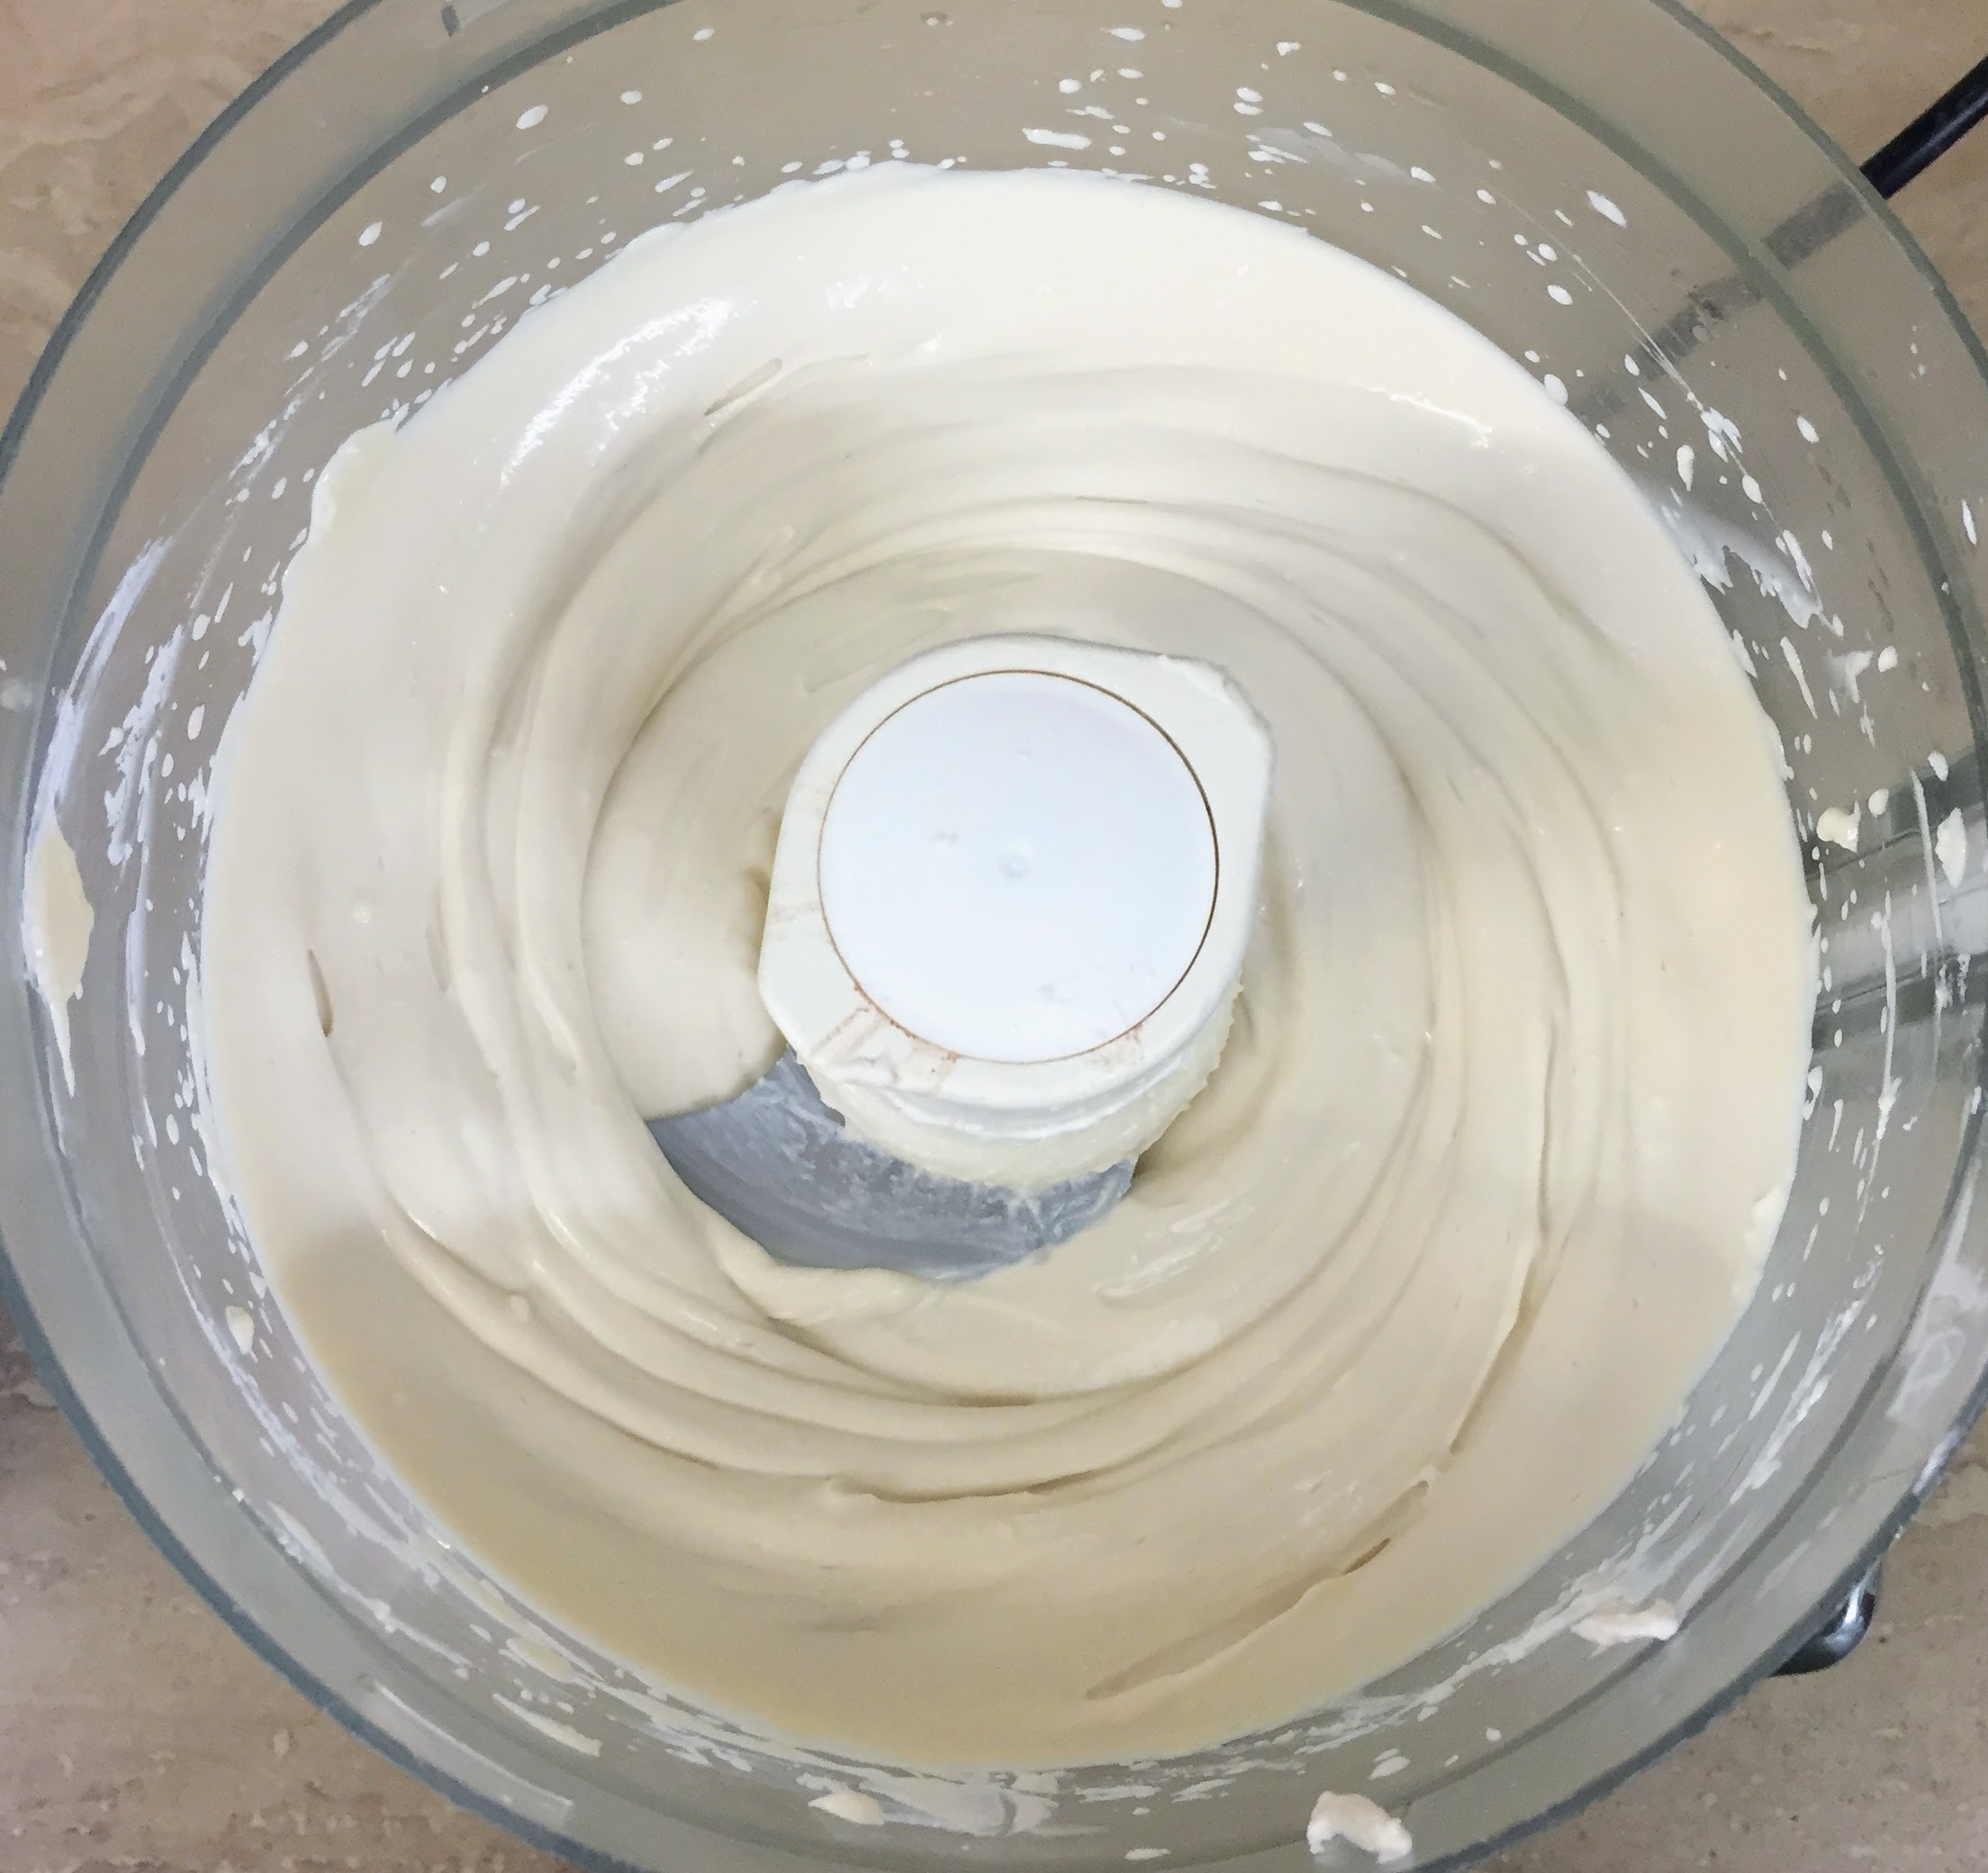
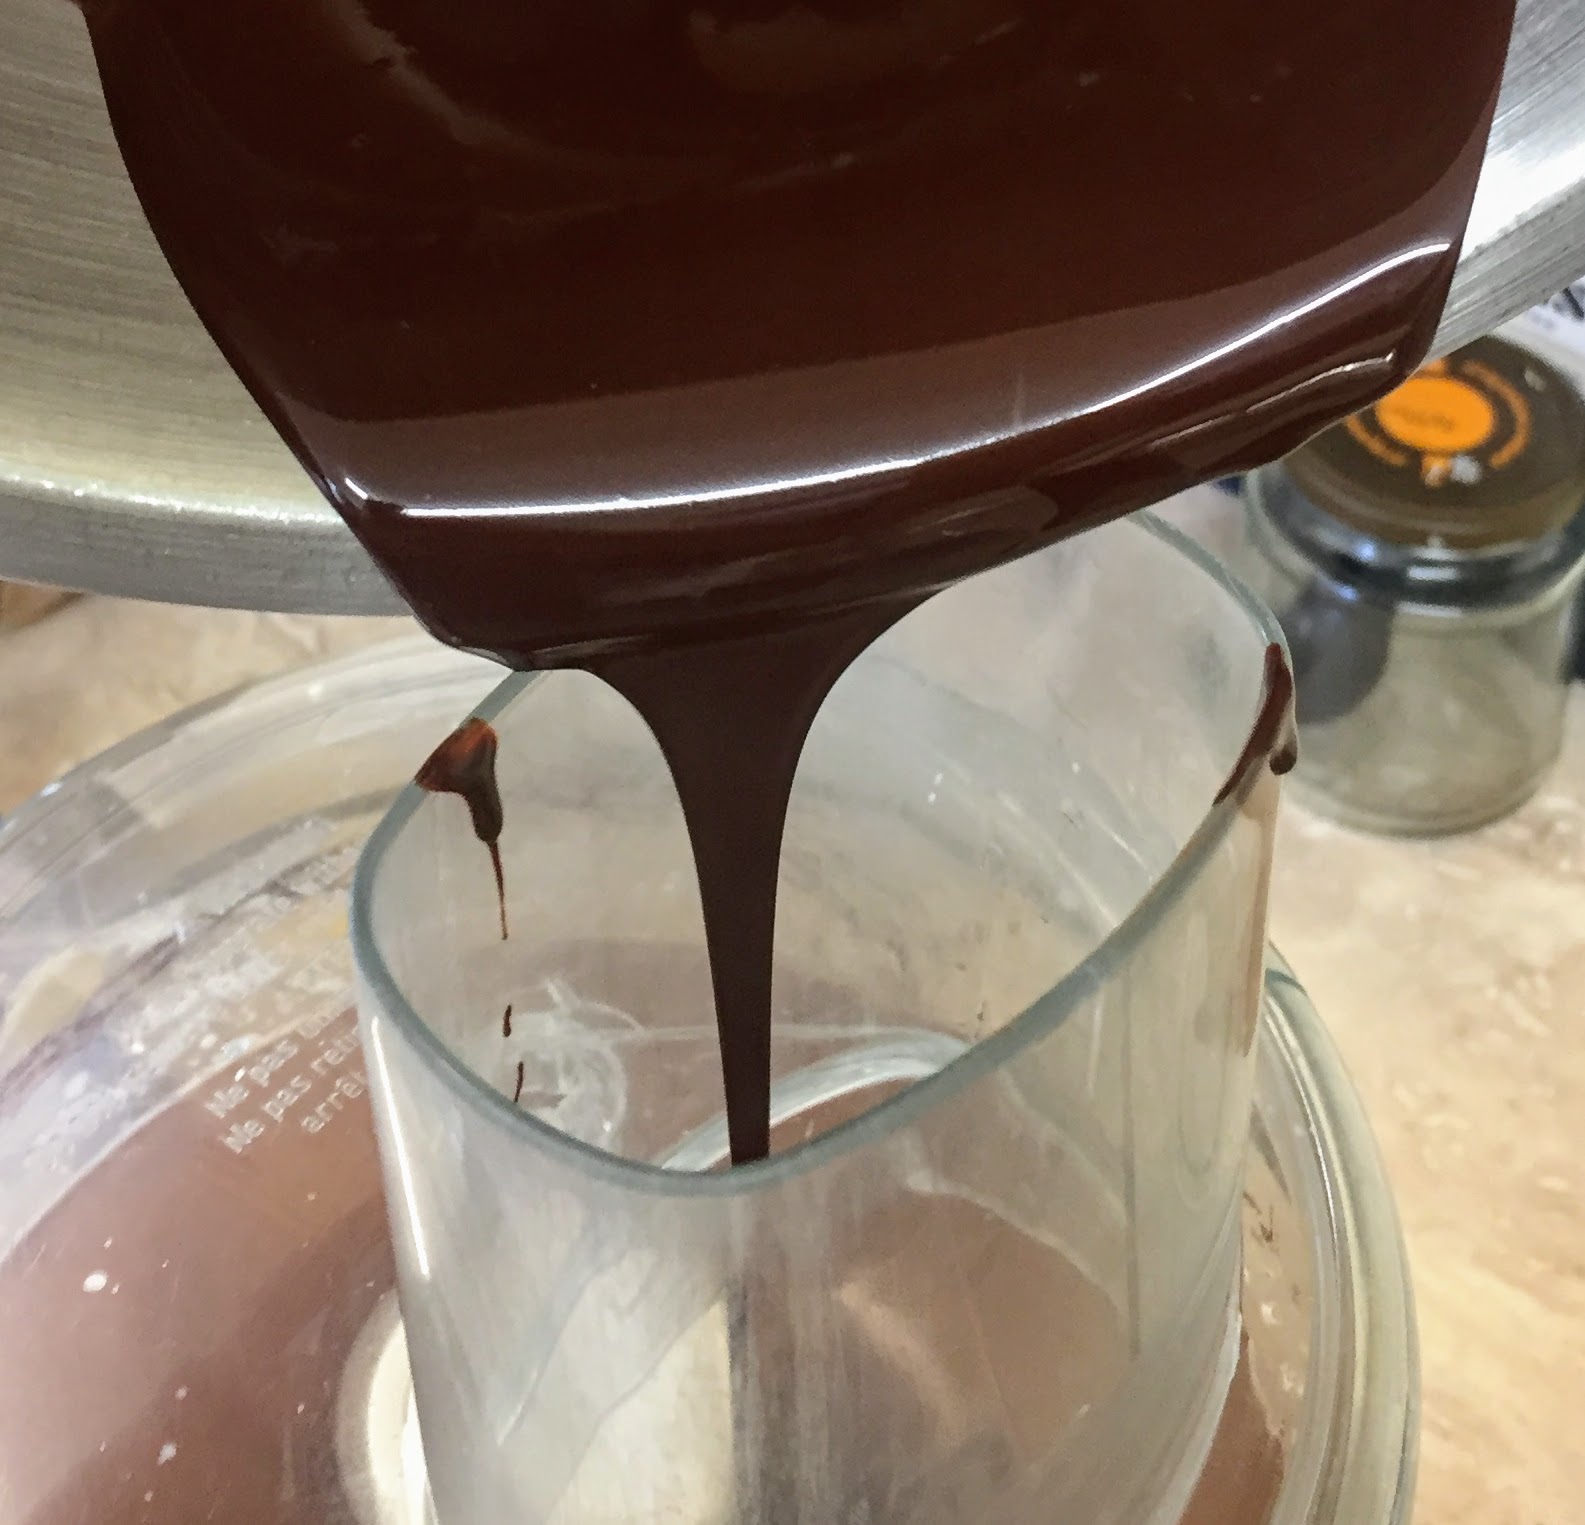
While the chocolate is melting, you’ll need to squeeze your silken tofu to remove most of the liquid. You can do this in a clean lint-free tea towel, an unused j-cloth, some muslin, or a nut bag. Plonk the tofu in the middle of the cloth or bag, and wring it out over the sink for at least a minute until very little water comes out, then tip into the (clean) food processor, along with the cream cheese. Whizz the tofu and cheese together until they’re silky smooth, then add the rest of the ingredients; agave syrup, salt, and a little non-dairy milk. Whizz again until everything is incorporated. Then, with the motor running, stream the slightly cooled melted chocolate through the lid of the food processor. You may need to scrape down the sides a few times, but eventually you should have a smooth and creamy mixture that’s a glorious glossy cocoa colour.
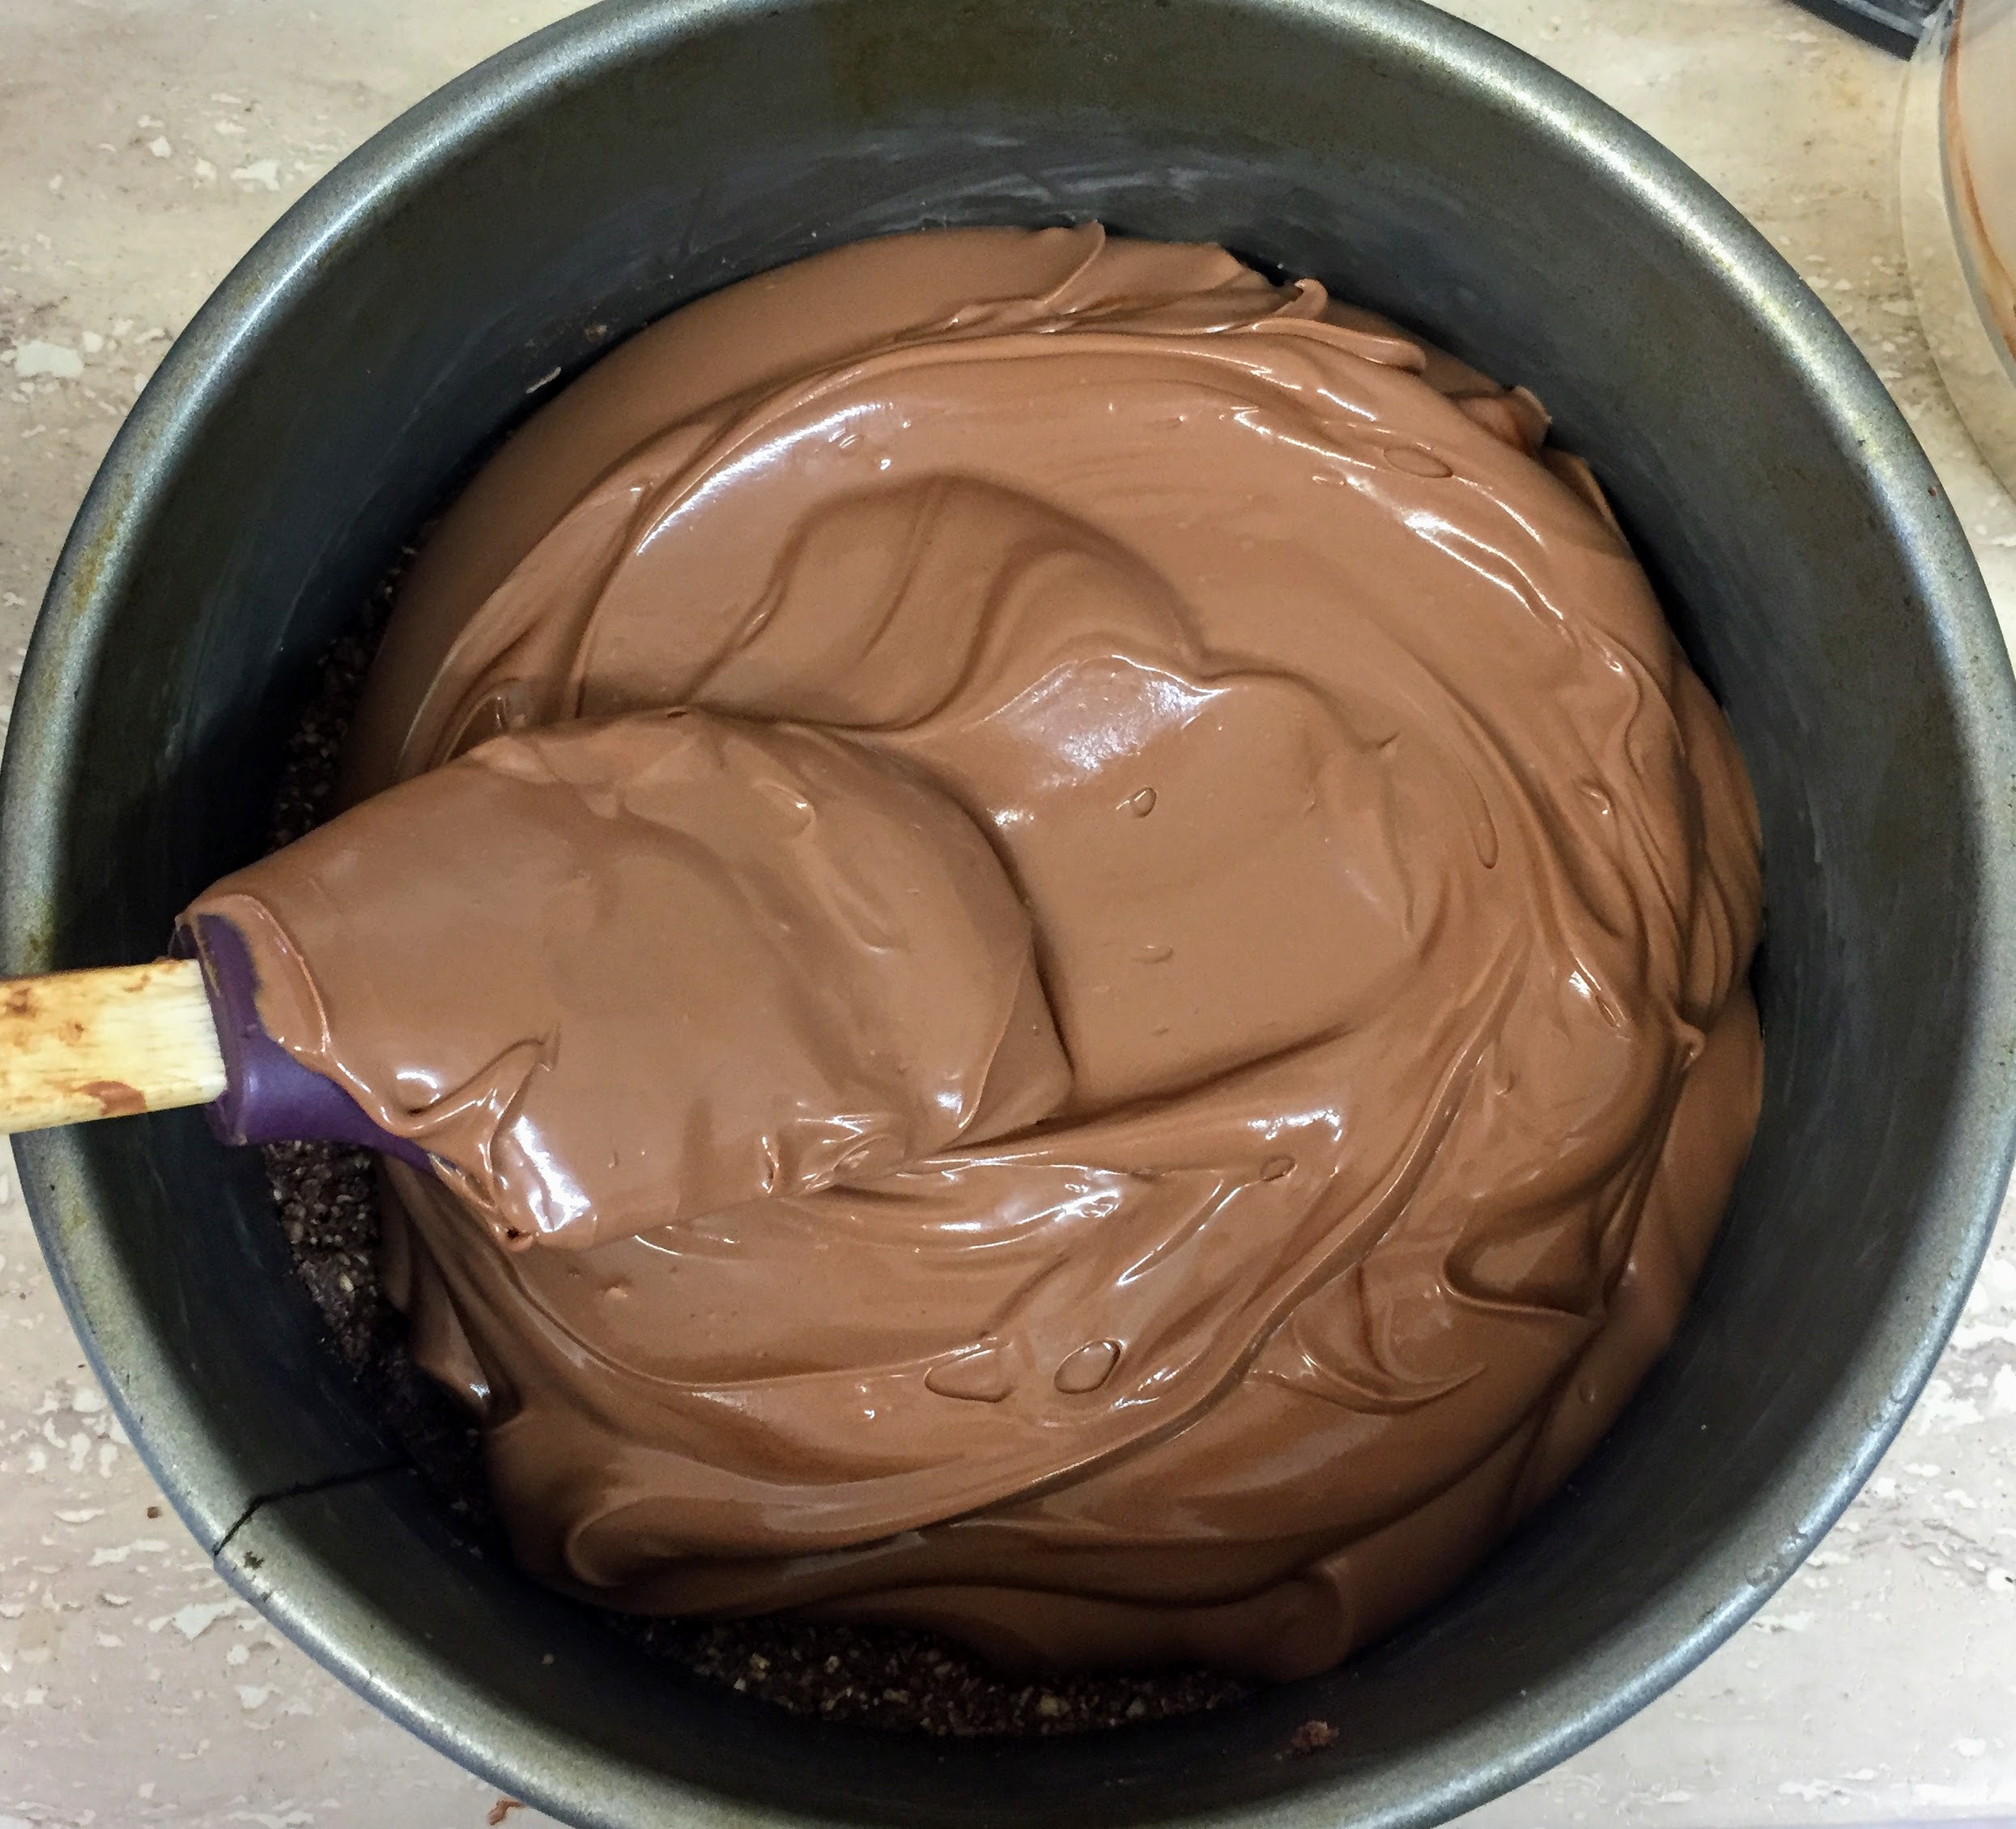
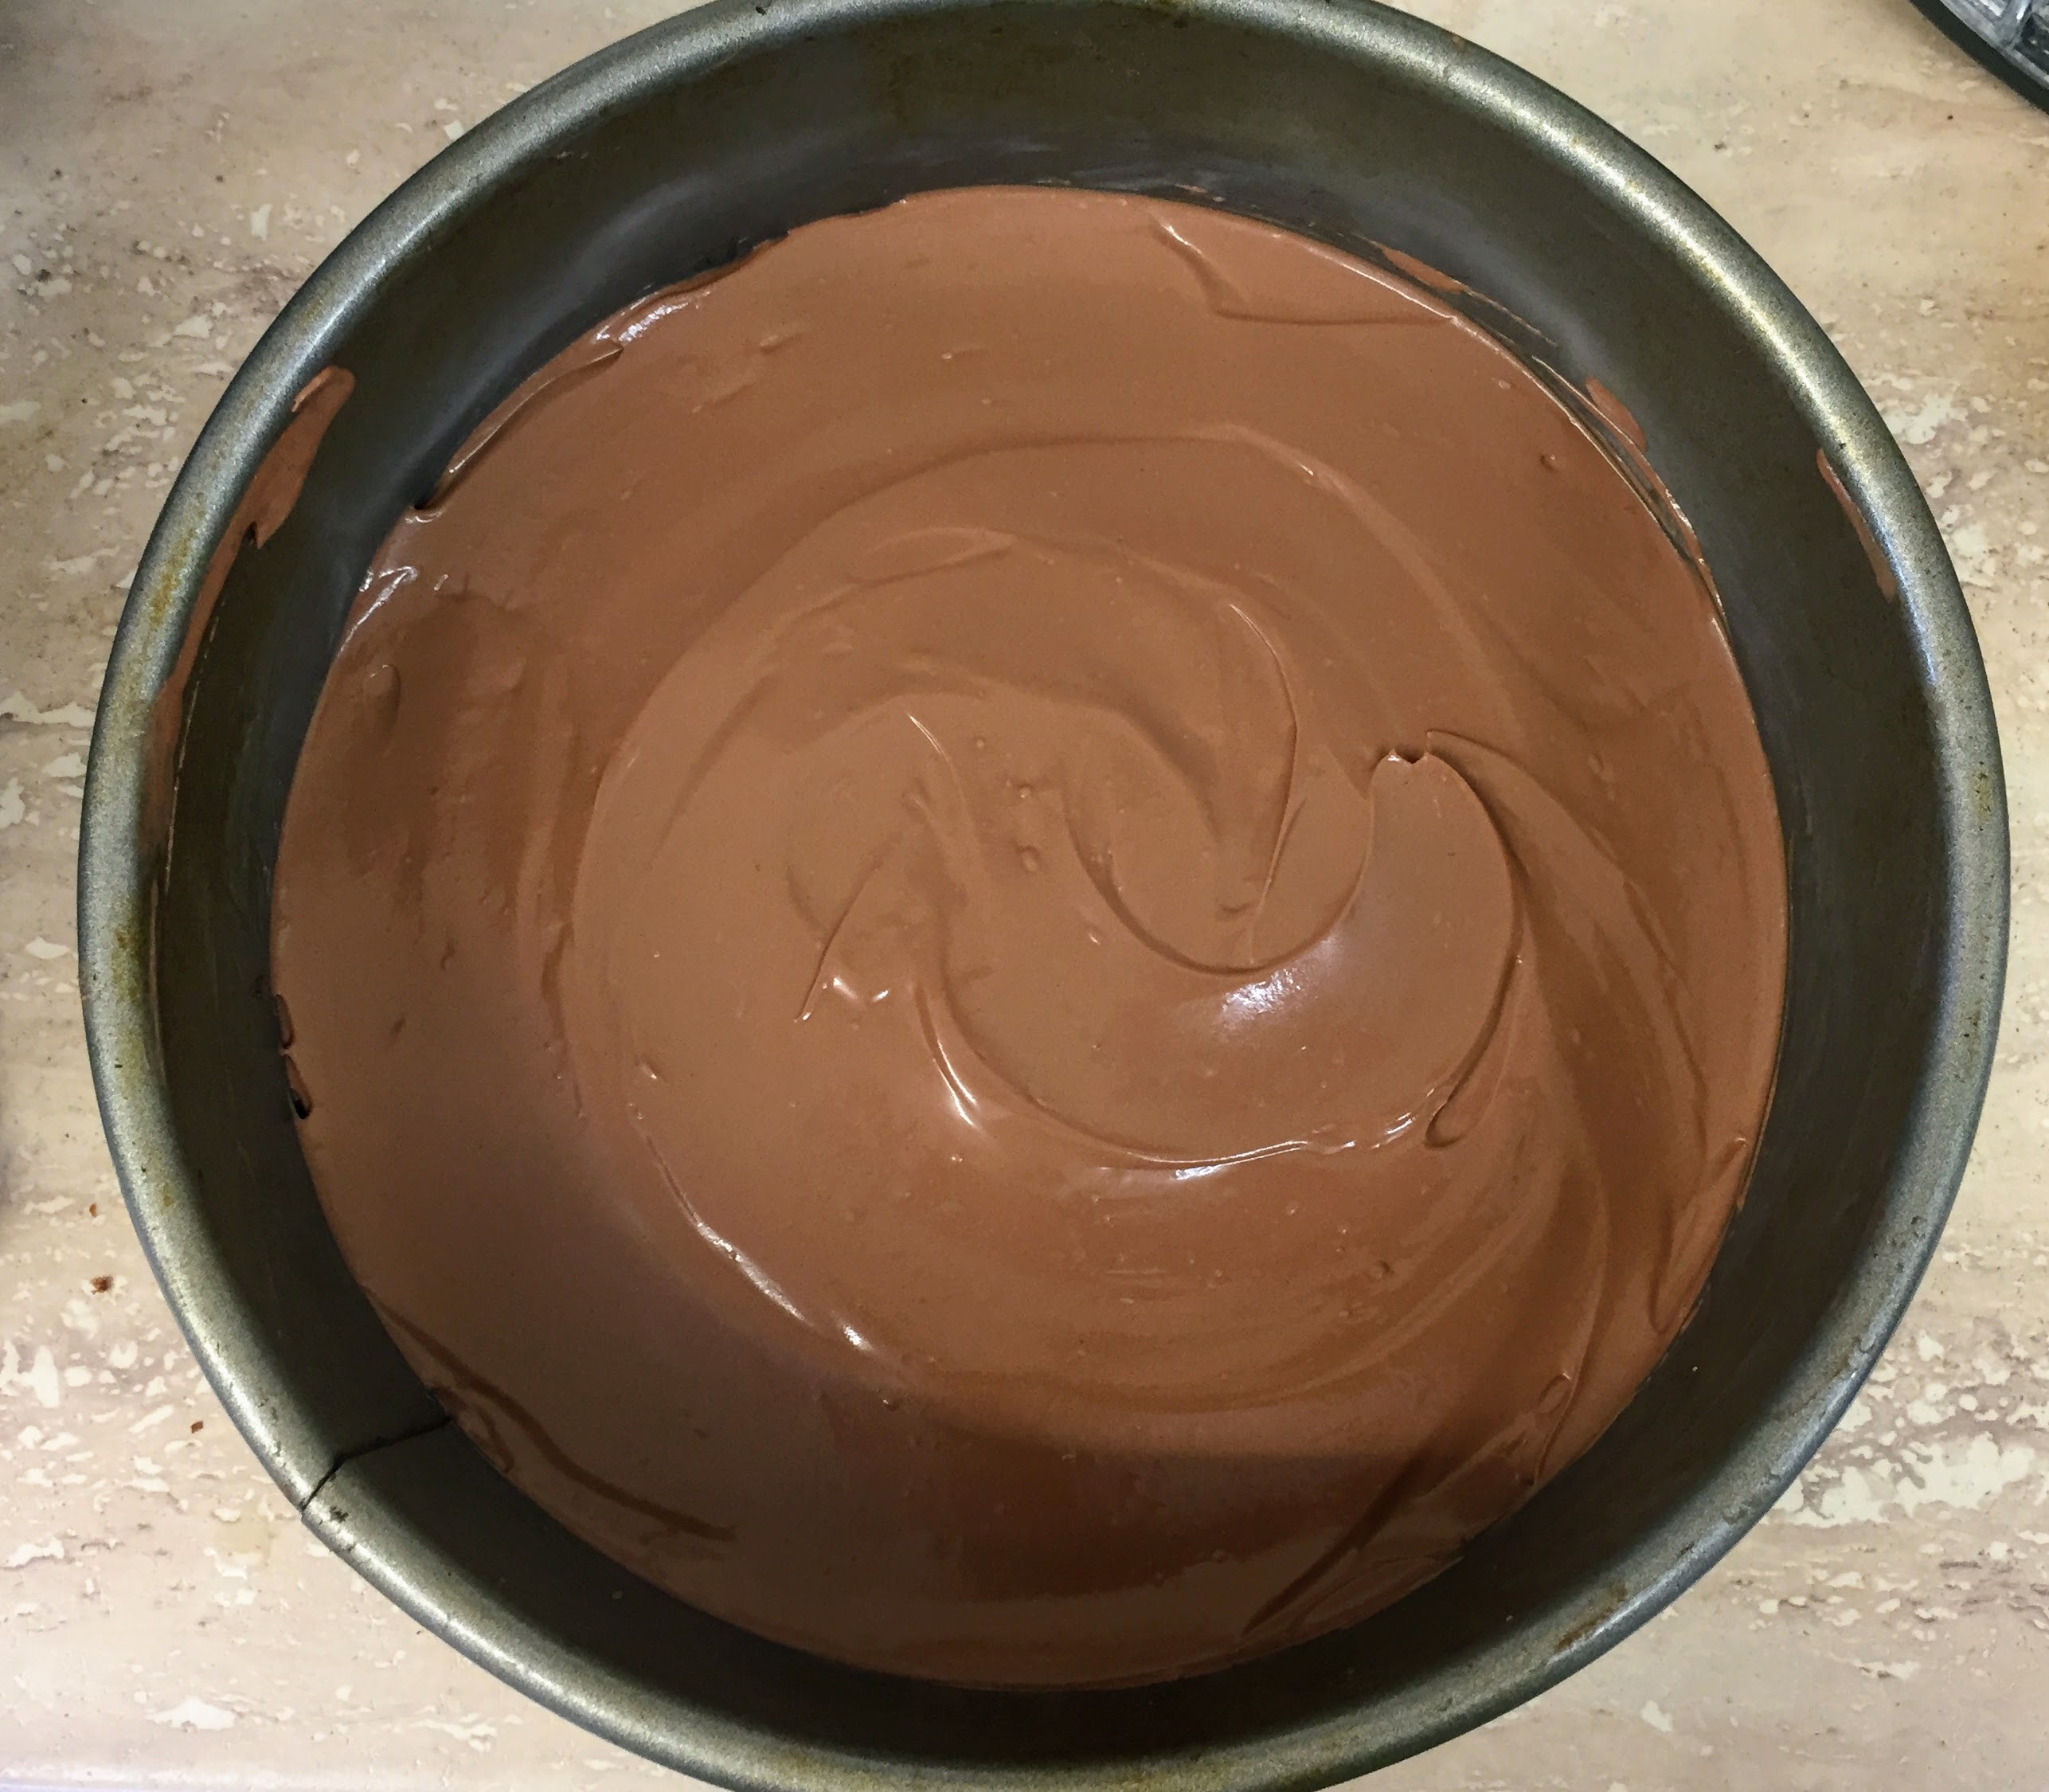
At this stage it’s very important to taste the mixture, and I’m not just saying that because it’s tasty and I want to eat it. Differences in cream cheese, chocolate and syrup can slightly alter the balance of flavours, so check to see if your concoction would benefit from a little more sweetness or salt, and adjust accordingly. Then scrape the mixture into your cake tin, on top of your chilled base, and level it out with a spatula or the back on a spoon. Refrigerate for at least 3 hours until it’s completely set.
The decoration
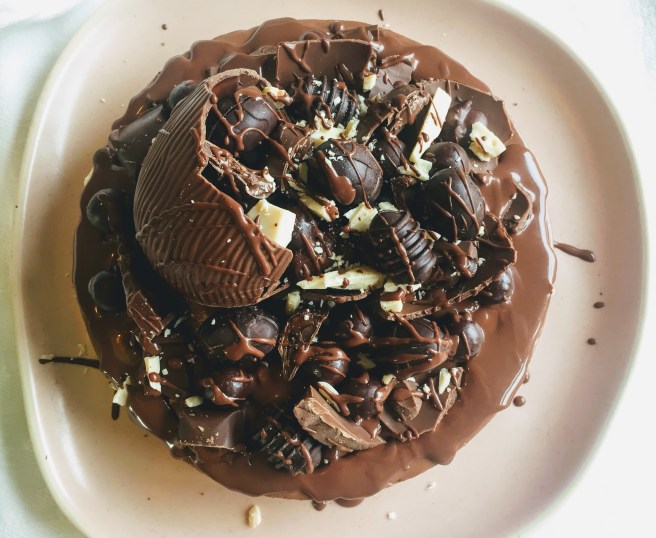
And then for the decoration! Obviously the first thing to do is raid your cupboards in search of any manor of chocolately vegan treat that looks even remotely decorative. I’ve gone for an Easter egg and mini chocolate eggs, some different flavoured chocolate bars, white chocolate shavings and vegan ‘maltesers’, but use whatever you fancy! Any vegan chocolate you can get your hands on would work, chopped, shaved or chunked, and you could add some hazelnuts or chocolate biscuits, or even some berries (though ideally these would be dipped in chocolate).
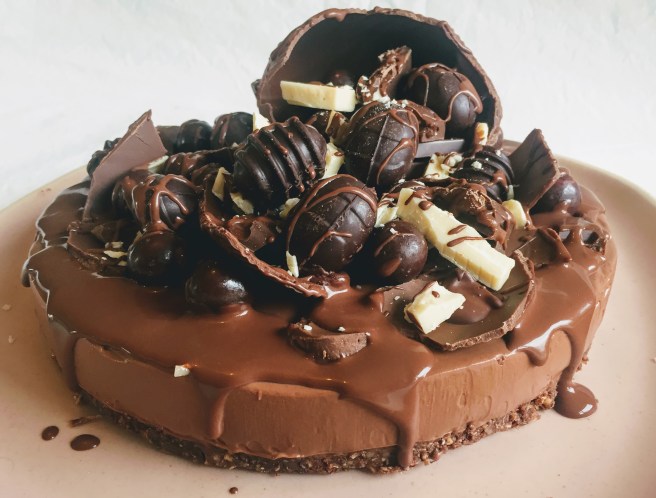
Carefully remove your cheesecake from the tin – I run a tea towel under hot water and wrap it around the edge of the tin for a few seconds, which helps loosen the edges of the cheesecake. Then, and this is the really technical bit, pile all of your vegan goodies on top until they look like you arranged them like that on purpose.
To help you out, you can make a quick chocolate ganache to act as a sort of cement. Finely chop some dark chocolate, then heat a little non-dairy milk in a pan until it’s near boiling, then pour it over the chopped chocolate. Leave to sit for a few minutes, then stir vigorously until it’s lump-free, smooth, and glossy. If there are still a few chunks of chocolate left un-melted, you can pop the ganache in the microwave on a low setting and heat for 10–15 seconds at a time, stirring in between, until the mixture is entirely smooth. You can spread this over the top of the cheesecake or use it targeted areas an a chocolate adhesive, and if any is left over, warm it a little more to loosen it up then drizzle over everything. The ganache should set pretty quickly, but you can always pop it back in the fridge for 5 minutes or so to firm everything up.
Then all that is left is to enjoy it! If there is any left (unlikely in my family, although this could be their biggest challenge yet) it will keep in the fridge for 2–3 days though the chocolate decorations might start to bloom a little.

Please let me know if you give these a try! I would love to know what you think, and any feedback is appreciated. You can comment below or use the star rating at the top of this post, or you find me on Instagram and Twitter – tag me in your creations @greedybearbakes.
Vegan Chocolate Cheesecake
A no-bake cheesecake that is creamy, luscious, silky smooth and deeply chocolatey.
For the base*:
- 125g (1 cup) hazelnuts
- 125g (1⅓ cups) oats (gluten-free if necessary)
- 50g (¼ cup) sugar
- 2 tbsp cocoa powder
- ¼ tsp salt
- 75g (5 tbsp) vegan butter / coconut oil
For the filling:
- 200g (7oz) dark chocolate (at least 70% cocoa solids)
- 1 cartoon of silken tofu (300-350g or 10.5–12oz)
- 300g (10.5oz) vegan cream cheese (nut-free or grain-free if necessary)
- 5–6 tbsp agave syrup (sub. maple / brown rice / golden syrup)
- 2 tbsp non-dairy milk
- ¼ tsp salt
For the decoration:
- 50g (2oz) dark chocolate
- 60ml (¼ cup) non-dairy milk
- 200–300g (7–10 oz) vegan chocolates of choice
Directions
- Grease a loose-bottomed cake tin, about 20cm diameter, and line the base with baking paper.
- Measure 125g hazelnuts and 125g oats into the bowl of a food processor and whizz to a fine crumb. Add 50g caster sugar, 2 tbsp cocoa powder and ¼ tsp salt and whizz again until the cocoa is evenly distributed. Add 75g vegan butter and whizz until the mixture starts to clump together. Press a small piece between your fingers and if it holds together well, tip in into your prepared cake tin. If it’s a little crumbly, add an extra tablespoon of butter at a time until it holds.
- Level out the mixture in your cake tin, then press it firmly into the base until you have an even, compact layer. Refrigerate, and clean the food processor.
- Measure 200g chocolate into a heat-proof bowl and set it over a pan of gently simmering water (ensuring the bottom of the bowl doesn’t touch the water). Stir occasionally and set aside to cool once it has completely melted.
- While the chocolate is melting, put 1 packet silken tofu in a nut bag, or wrap it in a clean lint-free tea towel, j-cloth or muslin. Squeeze the tofu over the sink for a minute or so to wring out the liquid, then add to the bowl of the food processor, along with 300g vegan cream cheese. Blitz, then scrape down the sides, and blitz again until the mixture is silky smooth. Add 5 tbsp syrup, ¼ tsp salt and 2 tbsp non-dairy milk and whizz.
- Once the chocolate has had at least a couple of minutes to cool, stream it slowly through the lid of the food processor while the motor is running. Scrape down the sides and whizz again until the chocolate is completely incorporated. The mixture should have thickened and become velvety smooth. Taste and add a little more salt, or the extra tablespoon of syrup, if you like. Spread over the chilled base so it’s level, then refrigerate for at least 3 hours.
- You can decorate however you like, but if you’re going full-on chocolate then a chocolate ganache is a good idea to stick everything in place. Finely chop 50g dark chocolate and place in a heat-proof bowl, then heat 60ml non-dairy milk in a pan over a medium heat, until just below boiling. Pour over the chopped chocolate, leave for 3 or 4 minutes, then stir vigorously until you have a smooth, glossy paste. Remove your cheesecake from the tin, and spread the ganache thinly over the top, prodding some over the sides for a drop effect, then arrange your chocolates on top, using the ganache to stick pieces in place. Any left over can be drizzled over the top, though you may need to heat it up to loosen it – 15 seconds at a time on a low heat in the microwave should do it.
- Keep refrigerated and eat within 3 days.
Notes
*There are a few different options for the base depending on your preferences/dietary requirements. For a grain-free version, replace the oats with nuts. You could use all hazelnuts, or a combination of hazelnuts and almonds. For a nut-free version, you could either replace the nuts with more oats, or use a biscuit of your choosing e.g. digestives or hob nobs. Oreos are an excellent choice, but already have some fat in their filling, so use 300g oreos, 50g vegan butter, 25g sugar, ¼ tsp salt, and omit the cocoa powder.

That cake looks so delicious! We’re reaching out to let you know that you’ve been nominated for the Golden Bloggerz Award: https://thenourishcookbook.com/2021/04/07/golden-bloggerz-award/ Congratulations 👏👏
LikeLiked by 1 person
Thank you so much! I really appreciate it (and I love your blog too!) 😊❤
LikeLiked by 1 person
You’re very welcome!
LikeLike