This punchy, spicy, salty, and sour fermented pickle is a beloved staple in its native Korea, and it’s not difficult to see why. It’s like nothing you’ve tasted before, and it doesn’t take many mouthfuls to become ever so slightly addicted.
Traditional kimchi recipes contain various ingredients that aren’t always easy to get hold of in the UK, as well as non-vegan ingredients such as dried shrimp and fish sauce. It is also quite involved, including separating and salting individual cabbage leaves, concocting spicy mixtures which are spread over each layer, and hours of waiting in between. That’s not to say this method isn’t worth it, kimchi creation is very much a labour of love. But safe to say this is a very non-traditional version; vegan, with ingredients that you can find in any supermarket in the UK, and much quicker to whip up.
If you are a kimchi novice then I would recommend trying it first as a recipe component rather than a condiment, as cooking it softens the flavour. My gateway drug into the world of kimchi was Meera Sodha’s recipe for kimchi pancakes (this was a Guardian column so you should be able to find it online, and is also in her cookbook ‘East’ which is amazing and you should definitely buy it if you can). The first crispy, salty, tangy bite was like a culinary epiphany and for a few months of my life it was basically all I wanted to eat. I still want to eat them most of the time, but there are also many other things I want to eat, and given there are only so many hours in the day my consumption has tailed off (slightly).
Kimchi fried-rice is another classic Korean dish that is dangerously moreish. It’s a great way of using up left-over rice, and while traditional recipes often use mince and fried egg, I like to fry kimchi, spring onions and garlic with silken tofu before adding the rice, for a quick and easy vegan alternative that is still bursting with flavour.

Cabbage is the star ingredient in any kimchi and specifically Chinese leaf (also known as Chinese cabbage, Chinese leaf lettuce, or Napa cabbage). This is a particularly crispy cabbage with substantial stems and delicate leaves. You can get it in larger supermarkets but you could use most other cabbages instead, such as savoy, sweetheart, or white cabbage. Most recipes also use radish and a firm, crisp fruit to add a bit of sweetness. Mooli or Daikon are large white radishes of East Asian origin – you can find these in larger supermarkets but red radishes work just as well, and I love the vibrant flecks of colour they add to the pickle. Korean pear is the traditional fruity addition but I use a crisp apple, skin and all, and you could use a firm pear as well. The sweetness of the fruit helps to balance the saltiness of the pickle, and the sugar aids the fermentation process.
Then we come to the ingredients that really bring the flavour. For the basic recipe, I’ve pared back the ingredients to the absolute minimum; a little garlic and a generous amount of fresh ginger for the aromatics, and a couple of red chillies for heat. However, many supermarkets these days stock gochugaru, or korean chilli flakes, which are the traditional spicy addition, and I’ve provide the quantities to use if you’re able to get hold of these, or have them already. Korean red pepper paste (gochujang) is also increasingly widely available (although it usually contains wheat flour so if you are gluten-free it’s best to check the ingredients). Gochujang, as well as soya sauce and miso paste, are excellent ways to pimp your kimchi, if you want to add some extra spice and/or some more layers of umami flavour.
But with this recipe, I really want to show that you can make incredible kimchi, that really packs a punch, with a few easily available ingredients, and minimal effort.

When making fermented foods, it’s important to ensure that all of your equipment is spotlessly clean, and that the containers you plan to store the kimchi in are sterilized. Ferments can react strangely to metal so it’s best to use glass jars or plastic tubs. I wash my jars in warm soapy water, then dry them in the oven on a low heat, 100C fan, for 12-15 minutes, before leaving to cool.
You’ll also need to thoroughly wash the cabbage and spring onions before chopping the cabbage into 3–4 cm wide strips, finely chopping the spring onions, and putting both in your largest bowl with flaky sea salt. With clean hands, massage the salt into the cabbage and onions for a few minutes. You should see the cabbage decrease in volume considerably. Cover and leave for at least two and up to four hours, massaging a for a minute or two a couple of times in the interim. You want there to be a good amount of liquid in the bottom of the bowl – this will take less time on warmer days and longer on cold.


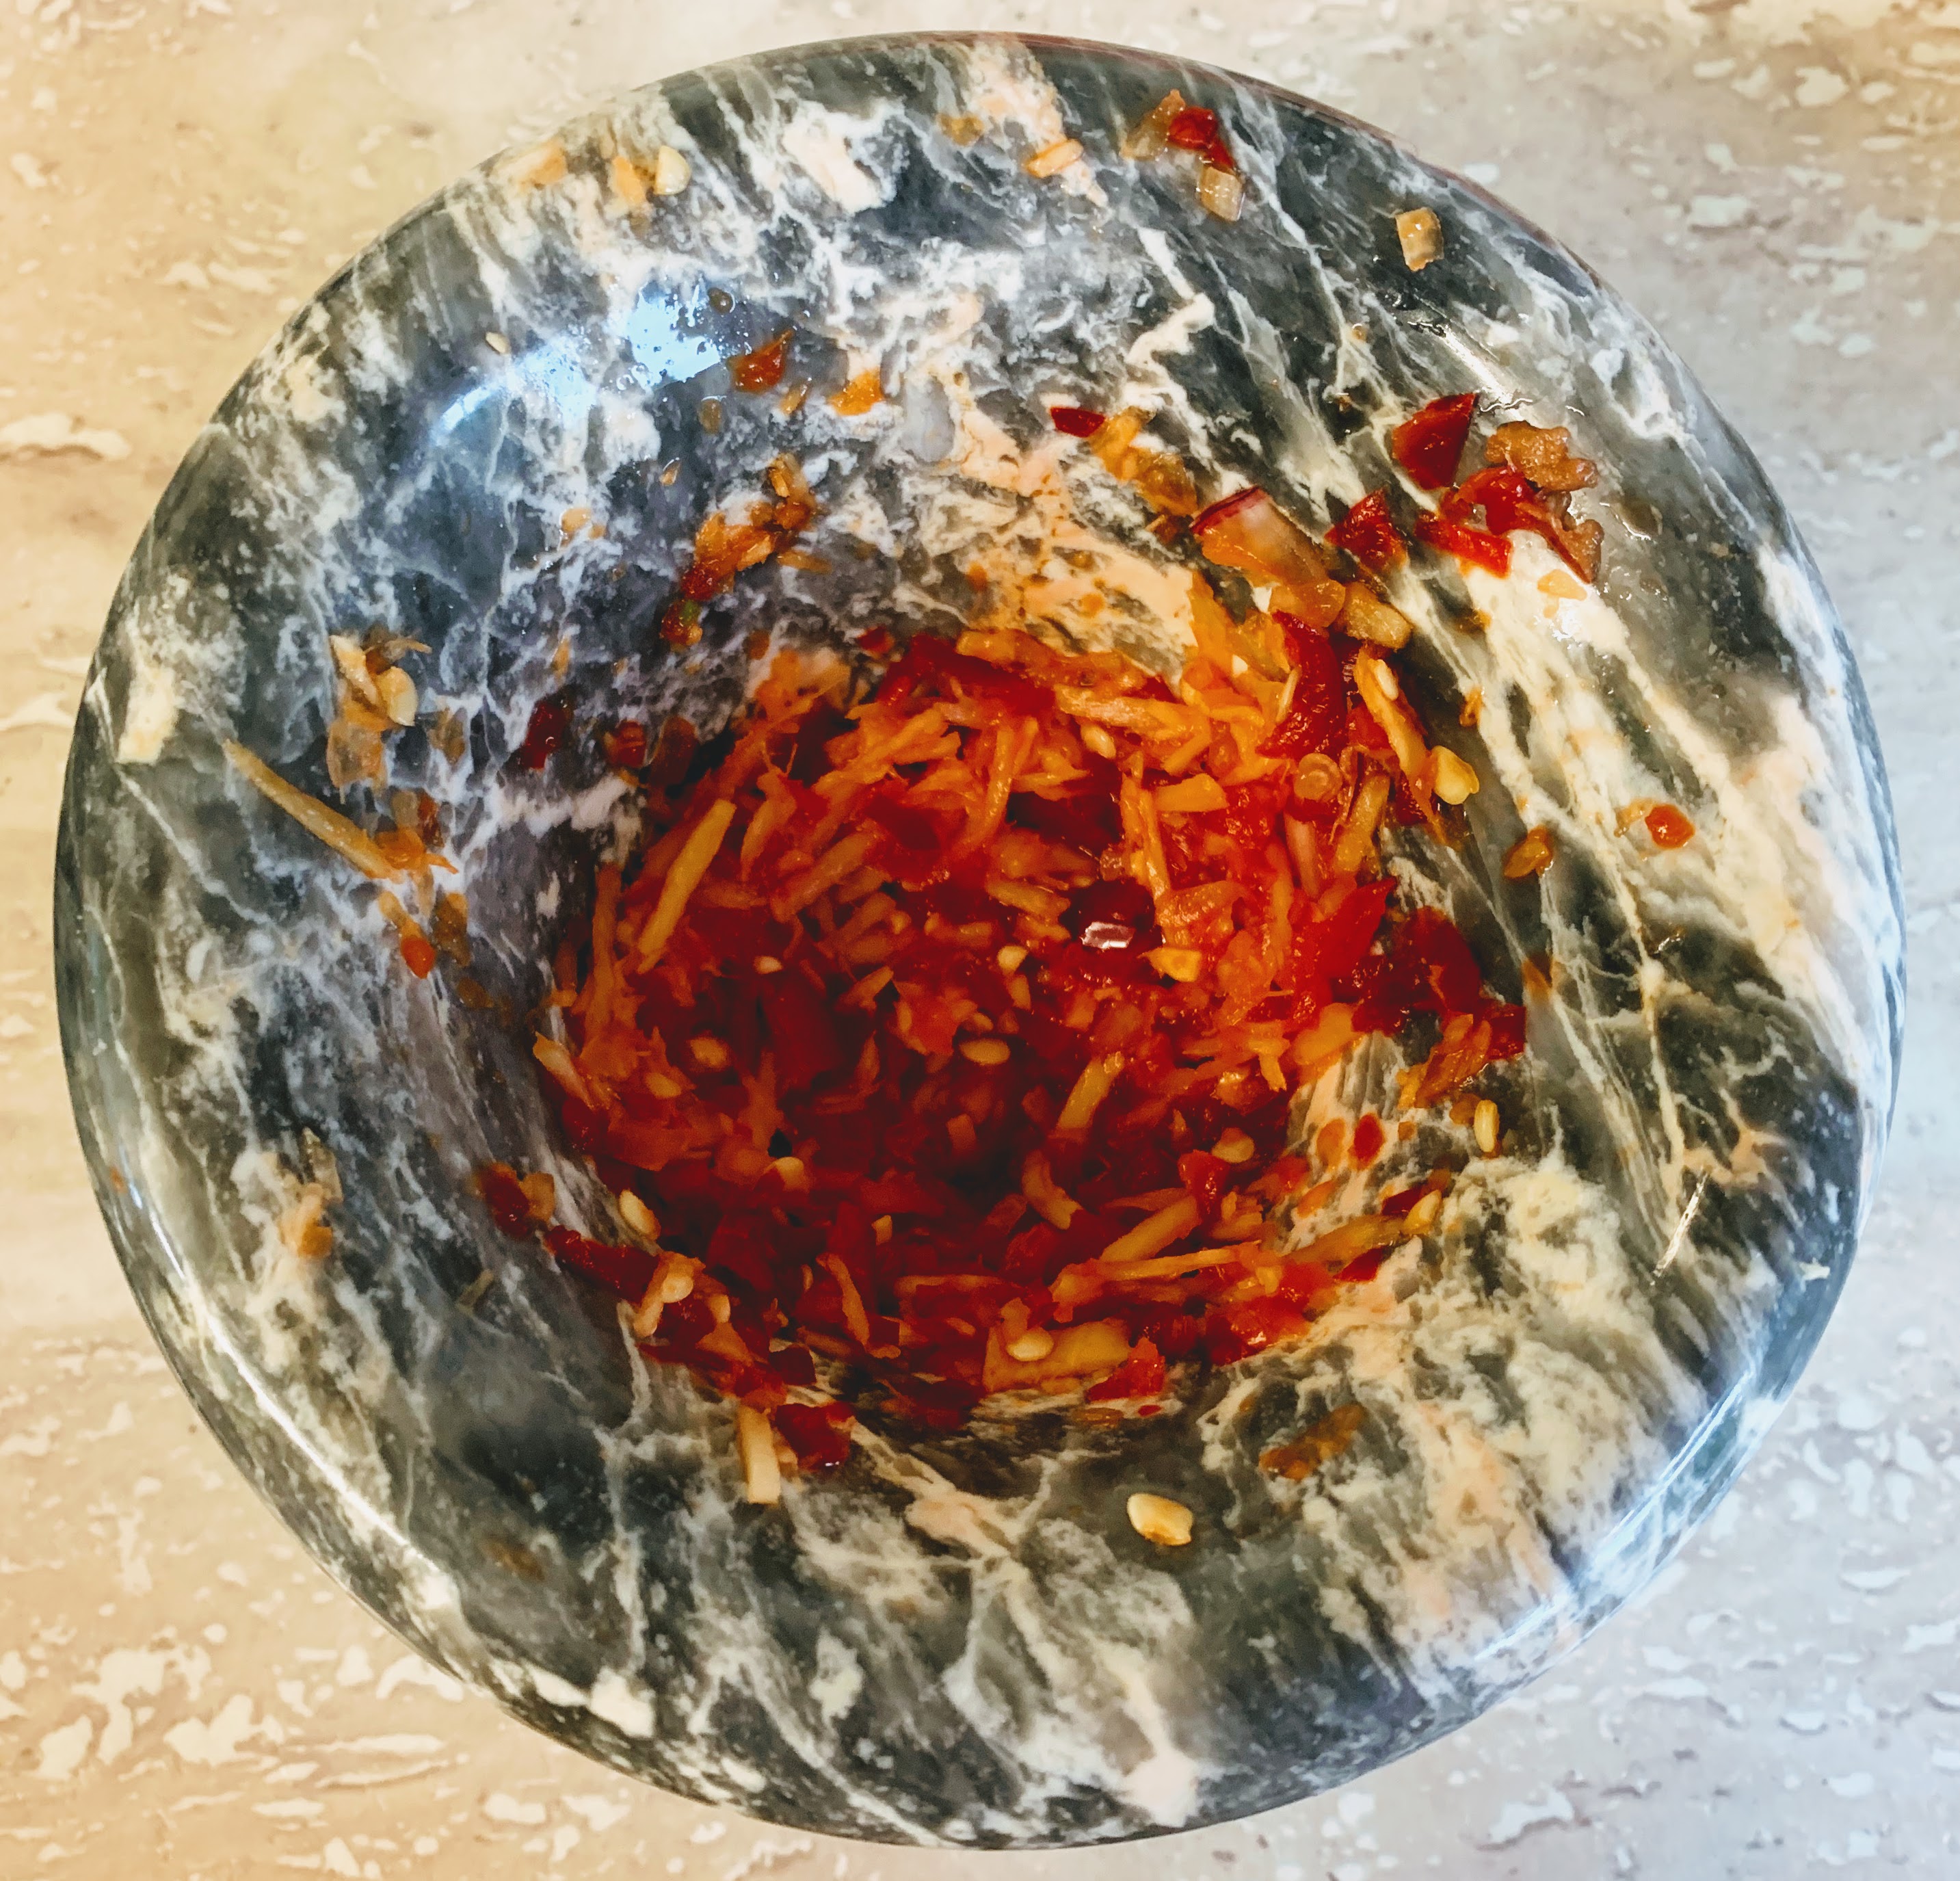
When the cabbage is almost ready, prepare the other ingredients, leaving the apple or pear until last so that it doesn’t brown. Finely chop the ginger, garlic, and chilli, and bash in a pestle and mortar. It doesn’t need to form a paste but you want the bright red of the chilli to saturate everything. Slice the radishes into very thin batons, about 1 cm long, and then core and grate the firm apple or pear.
Mix all of the ingredients together, and pack into your container. You should have enough to fill a 1 litre jar or tub, or three jam jars. Press all of the cabbage to the bottom of the jar and pour any liquid left in the bowl on top. You’ll need to ensure that there is a gap of 4–5 cm at the top of the jar, as the kimchi will expand as it ferments and creates gas. You can either cover the container with a clean cloth and secure with an elastic band, or use the lid, ensuring you remember to open it every day to let the gas escape, and push the vegetable matter down. I use the latter method as not everyone in my family is 100% on board with our kitchen smelling of kimchi for days on end.
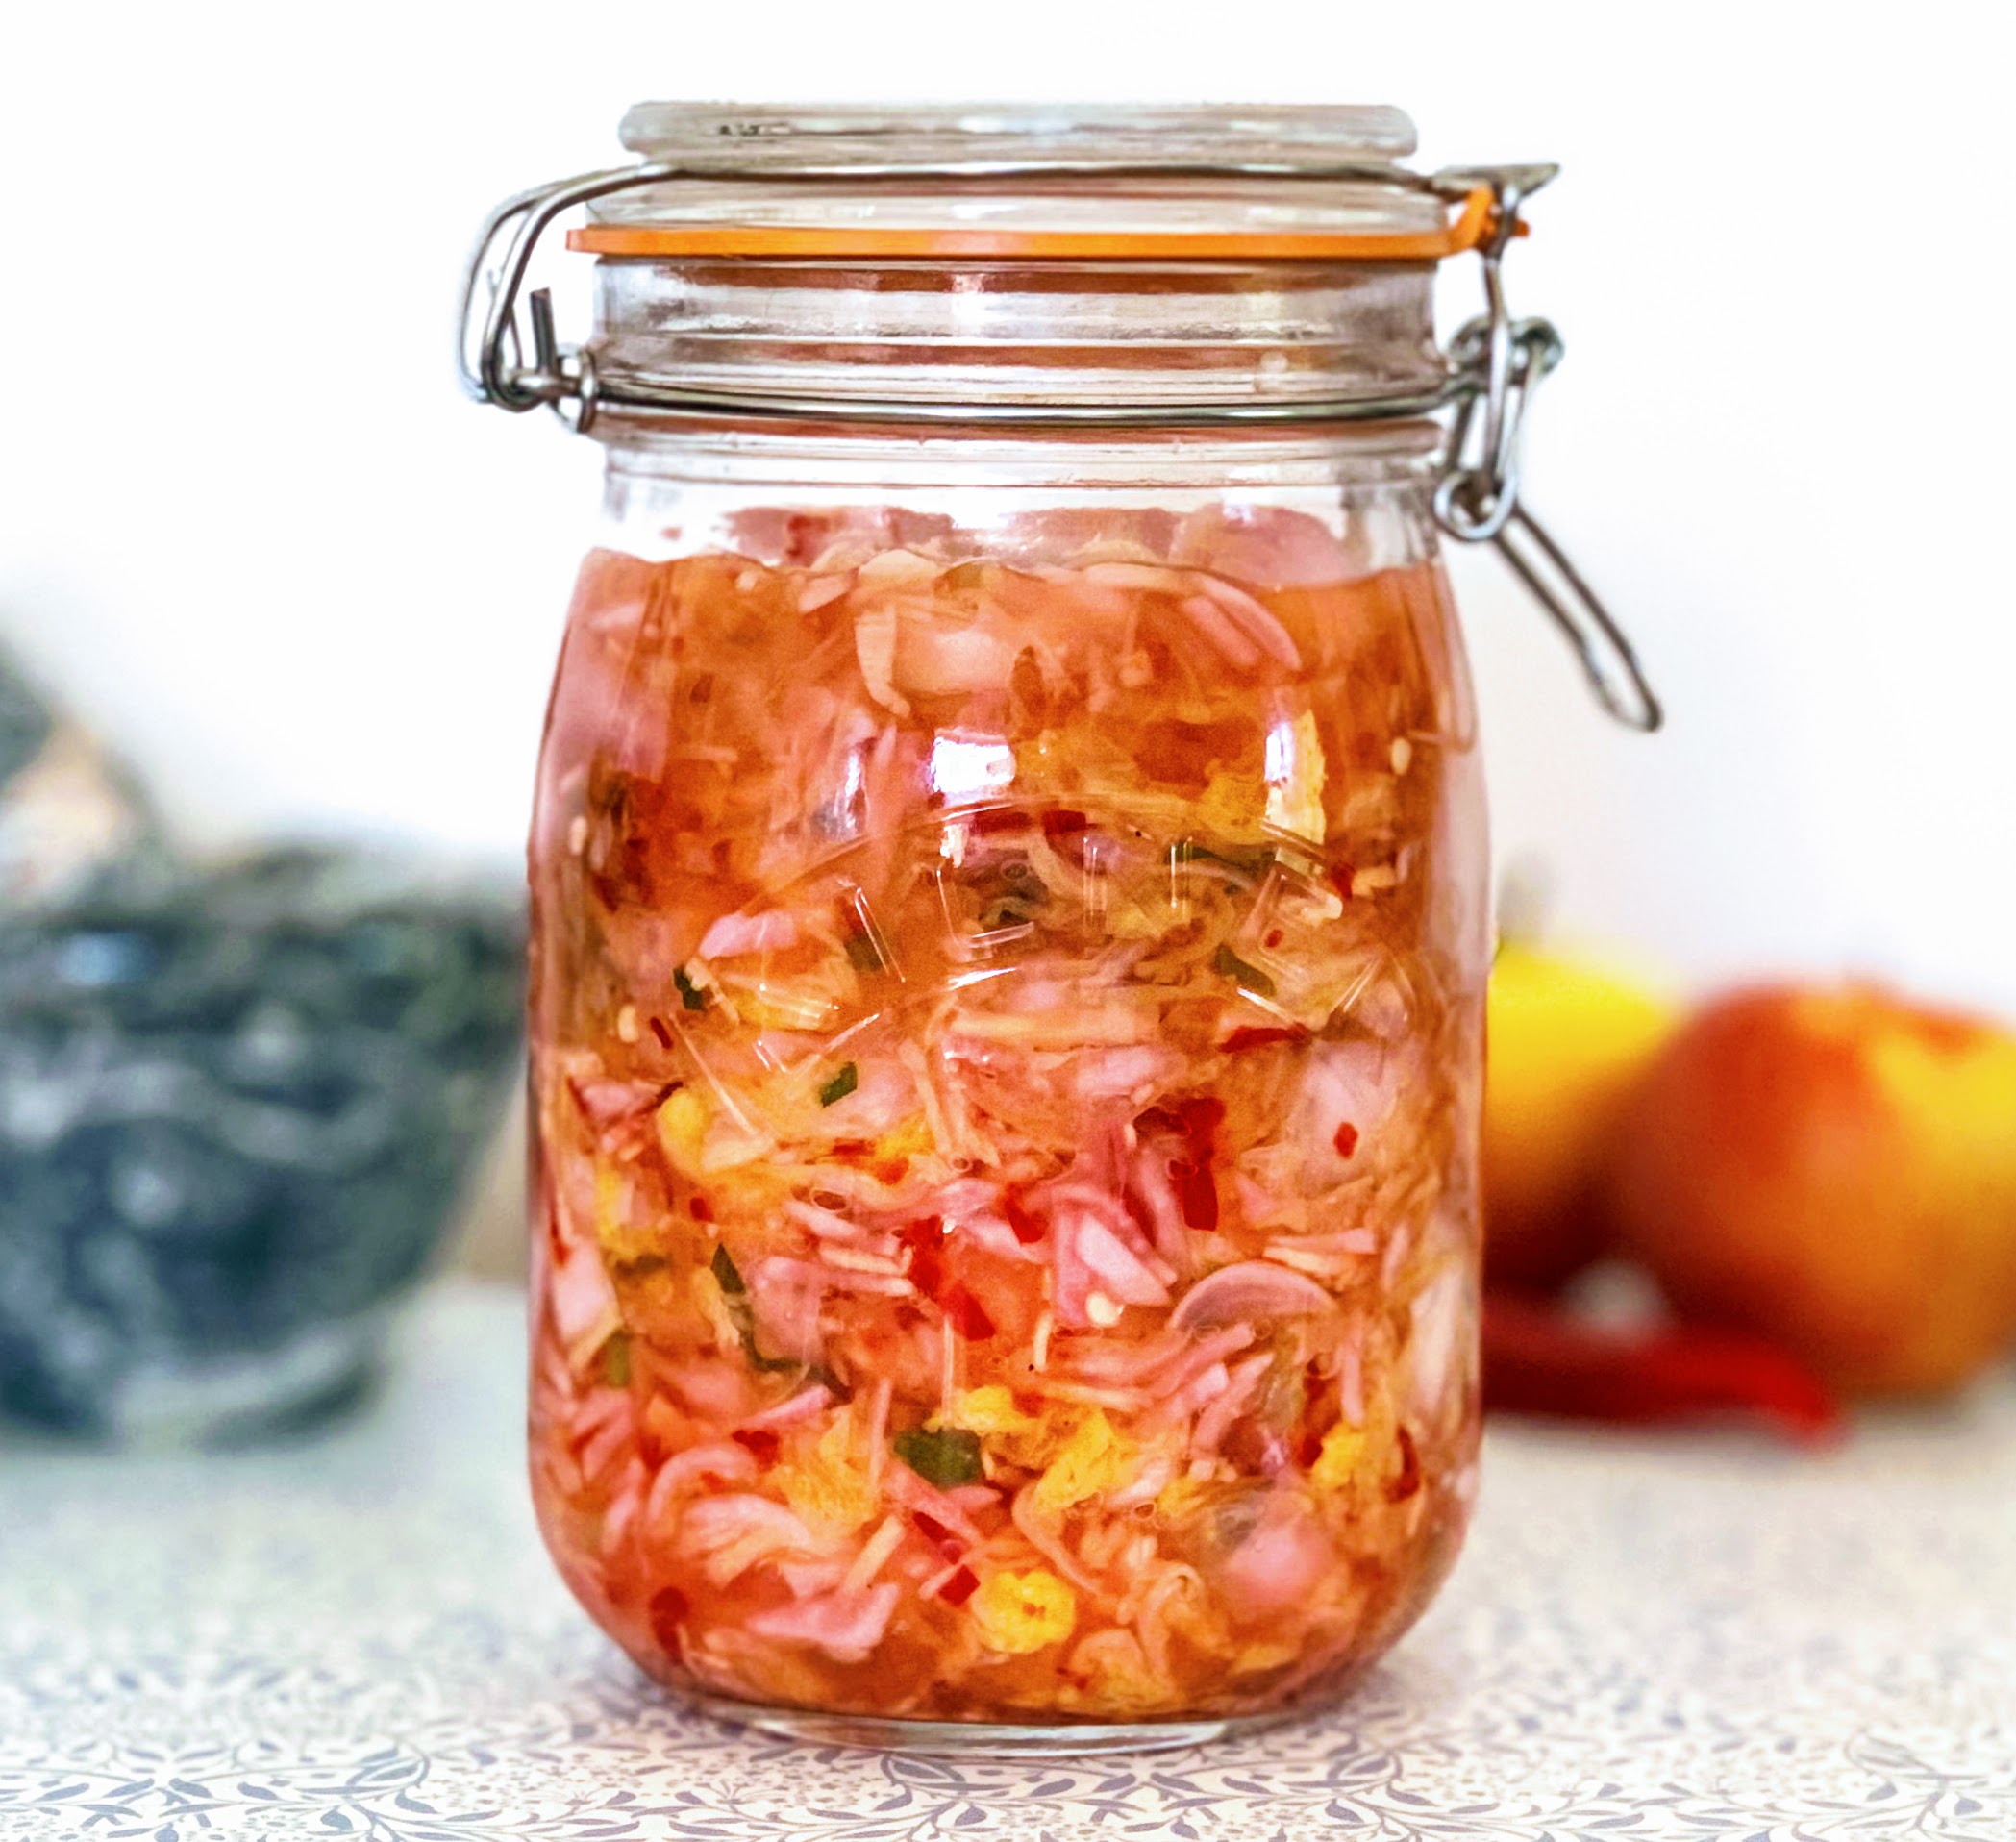
It’s best to leave the kimchi in a cool dark place, but how long for is very weather-dependent. In particularly warm weather you may only need to leave it for a day or two for before it’s bubbling and tangy. In very cold weather it could be up to two weeks. You can taste it as you go (using a clean plastic or silicone spoon) until it’s at your preferred tang level, then pop in the fridge where it’ll keep for a couple of months. Here’s what mine looked like when I decided it was fridge time:

You can see that there are loads of bubbles, meaning lots of fermentation activity, and when the jar is opened you are hit with a fairly pungent, vinegary scent. This took about 48 hrs with temperatures reaching about 22C. The vegetables tend to float to the top and they can discolour if not submerged in the liquid. You can use a fermentation weight to stop this happening, or if you have a reasonable amount of liquid then just pressing the vegetables down periodically tends to be sufficient.
This might seem like a vast quantity of kimchi but you’d be surprised how quickly it can disappear once you have the kimchi bug. Whether you use it to make pancakes, fried rice, or stir-fries, mix it into salads, have it as a pickle on the side, or pile it on top of a vegan burger with generous quantities of vegan mayo and sriracha (a personal favourite), it is guaranteed to take your meals to new mouthwatering heights.
If you give this recipe a go please let me know! You can comment below (this is turning into a poem and I am not ok with it), or tag me on social media (that’s better). I’m on Instagram and Twitter @greedybearbakes.
Really Easy Vegan Kimchi
A pared back version of the Korean staple that's quick and easy to make, and still packs a spicy, tangy punch
Vegan, Gluten-free, Grain-free, Soya-free, Nut-free, Oil-free
Ingredients
- 1 Chinese Leaf cabbage (approx 600g) or other cabbage of choice
- 2–3 spring onions
- 1 ½ tbsp flaky sea salt (or 2 tsp fine salt)
- 2 red chillies
- 20g ginger (or 4cm piece approximately)
- 2 garlic cloves
- 125g radishes (mooli, daikon, or red radishes)
- 1 medium crisp apple or firm pear
Optional:
- 1 tbsp soya sauce or tamari
- 1 tbsp gochujang (Korean red pepper paste)
- 2 tsp white miso
- 4 tbsp gochugaru (Korean red pepper flakes) in place of the 2 red chillies
Directions
- Sterilize a non-metal jar or container, or multiple smaller containers, with capacity of at least 1 litre. Wash the container thoroughly in warm soapy water, rinse, and then dry in an oven set at 100C fan for 12-15 minutes. Remove and leave to cool.
- Chop 1 head of Chinese leaf (or other cabbage) into 2–3 cm wide strips – you should end up with about 600g. Finely slice 2 or 3 spring onions and put them in a large bowl along with the cabbage and 1 ½ tbsp flaky sea salt. Massage the salt into the cabbage for a few minutes until it has reduced in size considerably and started to release liquid. Cover and set aside for 2–4 hrs, massaging for a minute or so a couple of times in the interim. It’s ready when there’s plenty of liquid at the bottom of the bowl, and this will take less time in warm weather and longer when it’s cold.
- Once the cabbage seems nearly ready, prepare the other ingredients. Peel and finely chop the ginger and garlic, and finely chop the 2 red chillies, seeds and all (if you are very averse to spice just use one). Transfer to a pestle and mortar and bash until everything is beautifully red. If using gochugaru instead of red chillies, add this to the ginger and garlic in your pestle and mortar along with 2 tbsp water. You can also add 1 tbsp soya sauce/tamari at this stage, or 1 tbsp gochujang with 2 tbsp of water, or 2 tsp white miso with 2 tbsp water. Whatever you use, mix it all into a paste.
- Chop the radishes into 1 cm long matchsticks, then core and grate the apple or pear. Mix these, along with the chilli paste, into the cabbage mixture until everything is equally distributed. Pack into your sterilized container(s), pushing the vegetable matter down to the bottom and pouring the liquid on top. Ensure that there’s at least a 4–5 cm gap at the top of the container, as the kimchi will expand as it ferments.
- Cover with a clean cloth, secured with an elastic band, if you don’t mind the aroma, or put the lid on the container making sure you open it every 24 hrs or so to let the gas escape. Leave in a cool dark place for 2–14 days. In really hot weather it may take even less time, and in mid-winter you may need the full two weeks. It’s partly down to personal preference as to how tangy and sour you want it – check it every day, and once the kimchi is producing lots of bubbles and the vegetable matter has floated to the top, taste it, and when it’s tangy enough for your liking close the lid and put it in the fridge. It will keep for at least 2 months, provided you only use clean, non-metal implements to scoop out the kimchi when you use it.
A Few Tips:
- Make sure you use a non-metal container to store the kimchi and don’t use any metal implements. Anything you do use, you want to be as clean as possible, to avoid any unwelcome bacteria.
- You don’t necessarily have to stick to the cabbage/radish/apple combination in the recipe. You could also use left-over lettuce, red cabbage, carrot, courgette, cucumber, or any other vegetable that is reasonably firm and will hold its shape when pickled. For a 1 ltr container, you want about 750–800g vegetable matter and at least 100g of apple or pear.
- If you don’t have enough liquid to cover your kimchi this is most likely because you haven’t left the cabbage and salt concoction long enough – you want at least a couple of inches of liquid at the bottom of your cabbage bowl before you add the rest of the ingredients.
- If your kimchi is starting to brown and discolour on top, this is because it’s not fully submerged under the liquid. As it ferments, the vegetable matter will naturally float to the top. You can use fermentation weights to weigh it down, and you can find DIY versions online. But, if you have a reasonable amount of liquid in your kimchi, I find that using a non-metal spoon to push the vegetable matter down and release some of the gas, once a day when out of the fridge, or once a week or so when in the fridge, is enough to keep the brown at bay. Over time the distinct colour of your various kimchi components will start to blend into one another but this is to be expected.

2 thoughts on “Really Easy Vegan Kimchi (Vegan, Gluten-free, Grain-free, Soya-free, Nut-free)”